

With Halloween season upon us, I’m thinking monsters. To be specific, I’m thinking Monsters! ArtWorks in Kenosha has an annual Monsters! exhibit, and October will mark my first year anniversary of getting my work out into the world a bit more. I want to stretch my skills and create new content to share in the process. The finished piece that I have in mind will be fairly disturbing, but the base layer is my standard abstract monster with grotesque pitting and other creepy textures. It’s a good entry into mask-making because it’s very forgiving, as neither symmetry nor beauty is required.
This tutorial is the result of my attempt to take better photos (and video — more on that at the end) of my work in progress. I was thinking more about tripod positioning, camera settings, and angles than I was about breaking down the process in a logical way. Hopefully I’ll get this routine down soon, and then I can focus more on the content.
Prepare
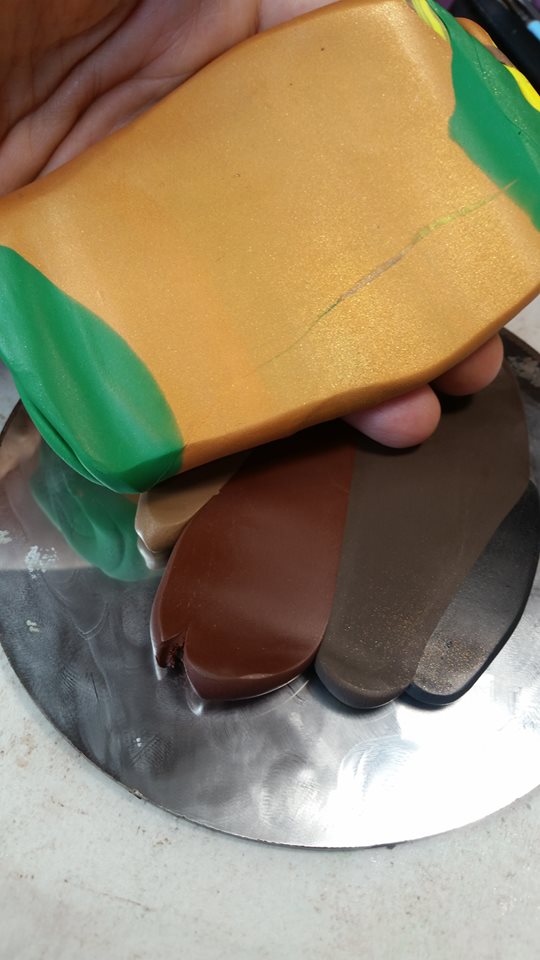
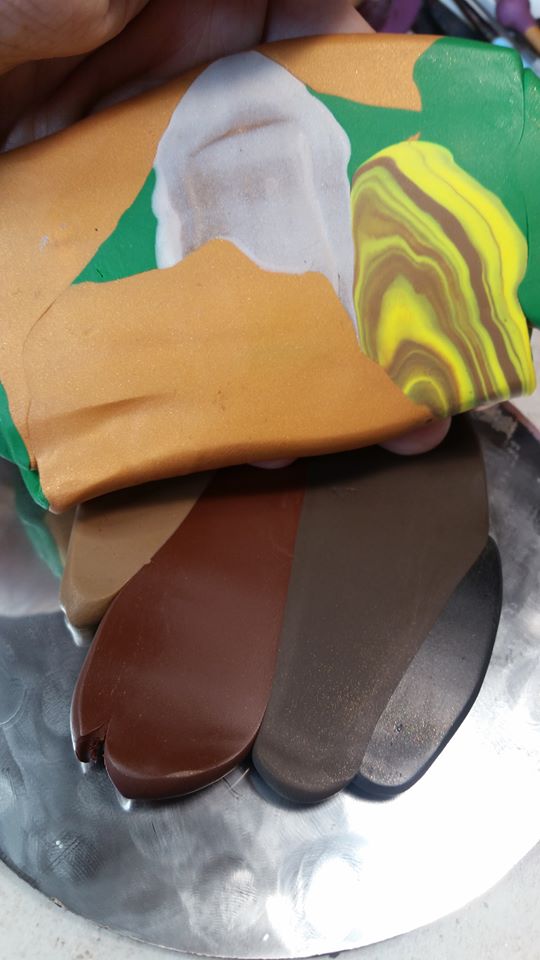
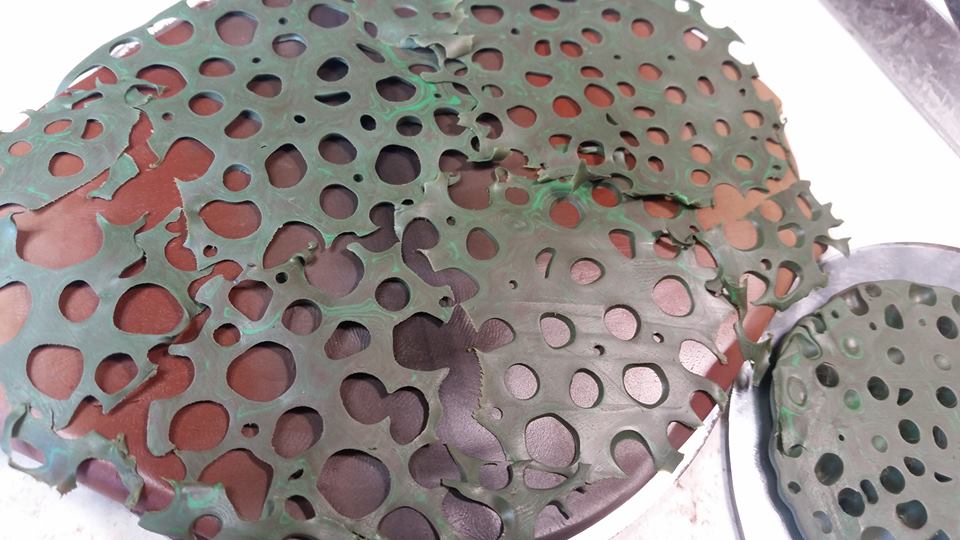
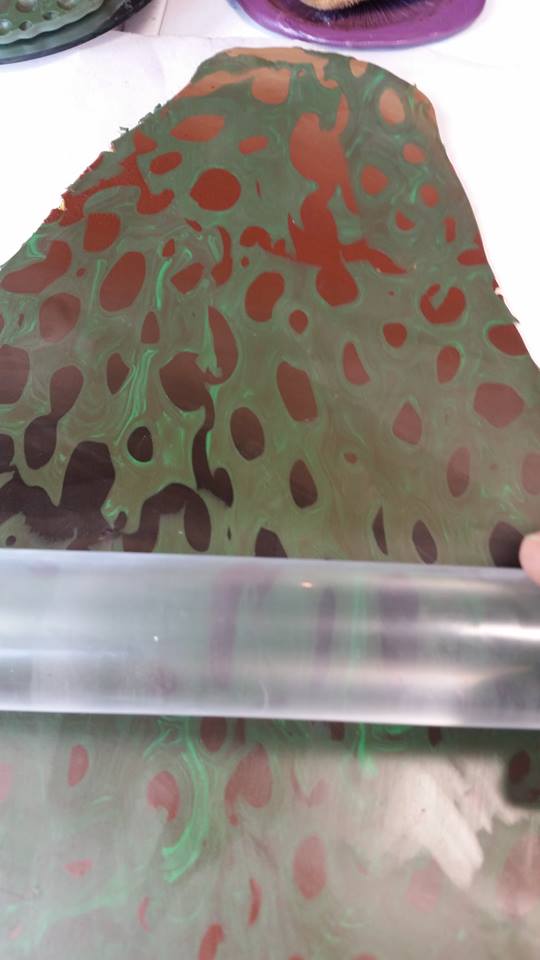
For this mask, you will need some sort of flat mask template. I made my own, and I did it folded in half to ensure symmetry. You may create your own, based on your own face, or download one from the internet. I prepped a complex background, but that would be too much for this tutorial. I’ll include a few photos and a super brief run-through in case you’re familiar with the techniques, but otherwise, just prep about three ounces of clay in the color(s) of your choice and roll into a sheet large enough for your mask template. I recommend layering colors, as we will be digging into them later. (See the last photo of the slideshow below.)
Tools
I was bad and didn’t take a tool photo this time. I’ll just have to list them
at least three ounces of clay in the colors of your choice (the finished product might be less than three ounces, but you’ll need to roll out a large sheet and cut from it)
dark brown chalk pastels and a stiff brush or other tool for scraping
mica powders
needle tool
ball tools
smoothing tool
roller
tissue blade
two large jump rings
mask template (I made mine out of poster board)
oven-safe mold for baking the mask (I made mine out of aluminum foil and found metal objects)
ribbon, string, yarn, leather, or elastic to finish off the mask
a piece of felt and craft glue for backing
Portion I — Background
Position your mask template over the sheet of clay and center it how you’d like it
Using a needle tool, trace around the outside of the template and around the eyes
Remove excess clay
If desired, trim to a smaller size
Make openings for string to be added later (about one inch from the end on each side) and reinforce with a jump ring and additional clay, if desired
Gently manipulate the edges with fingers and tools (such as natural sponges) to smooth out the cut portions and cover up layers that may show.
Using a stiff brush or scraper, scrape some of the chalk pastel onto the edges of your mask
Work in pastels with fingers and texture tools (such as brushes or sponges)


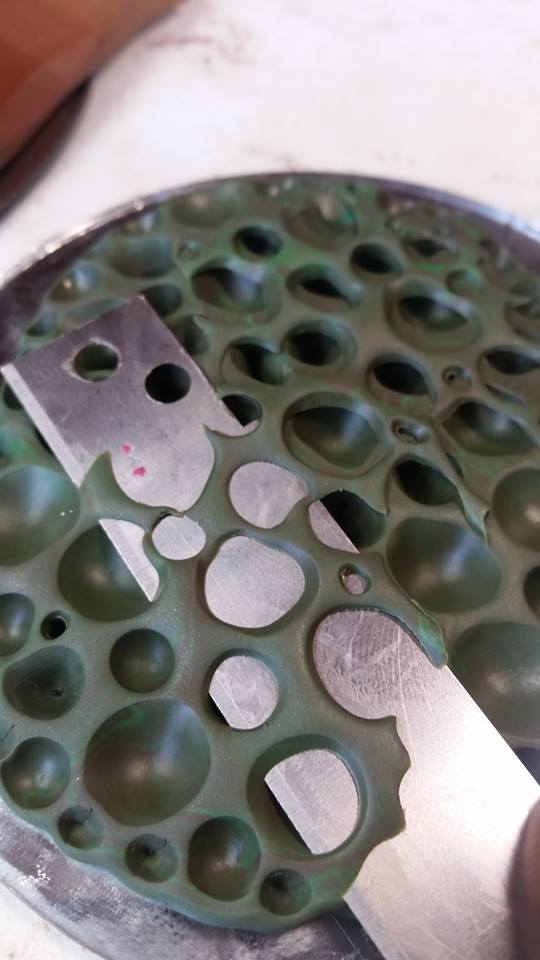
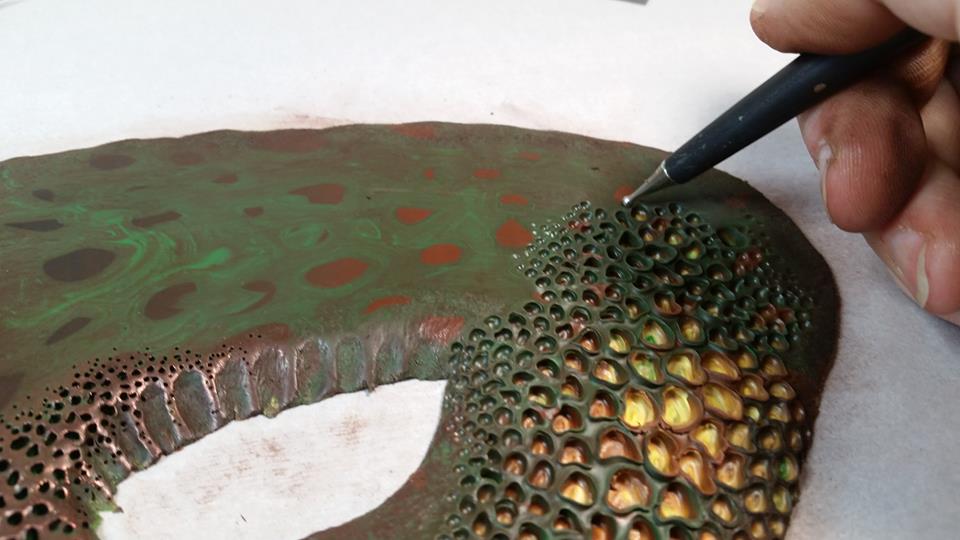
Portion II — Monstrification
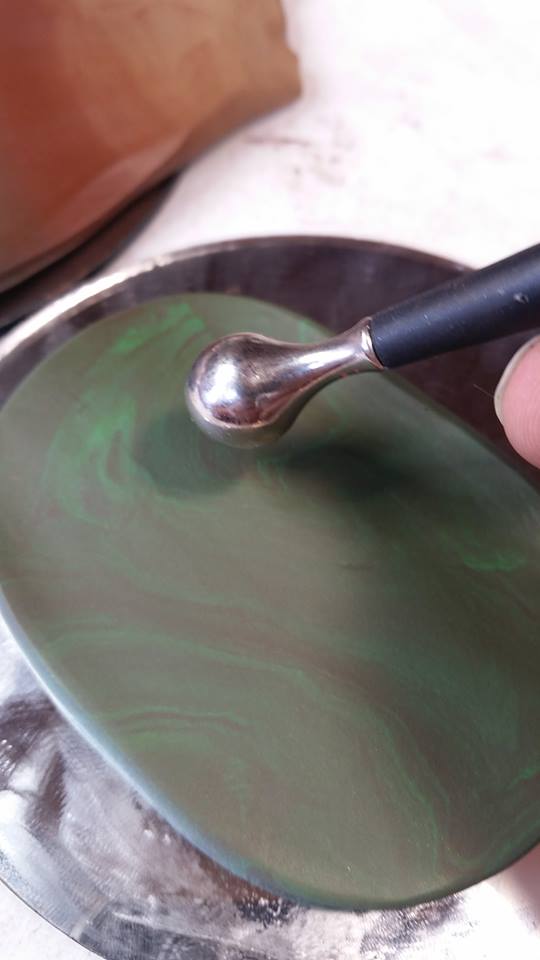
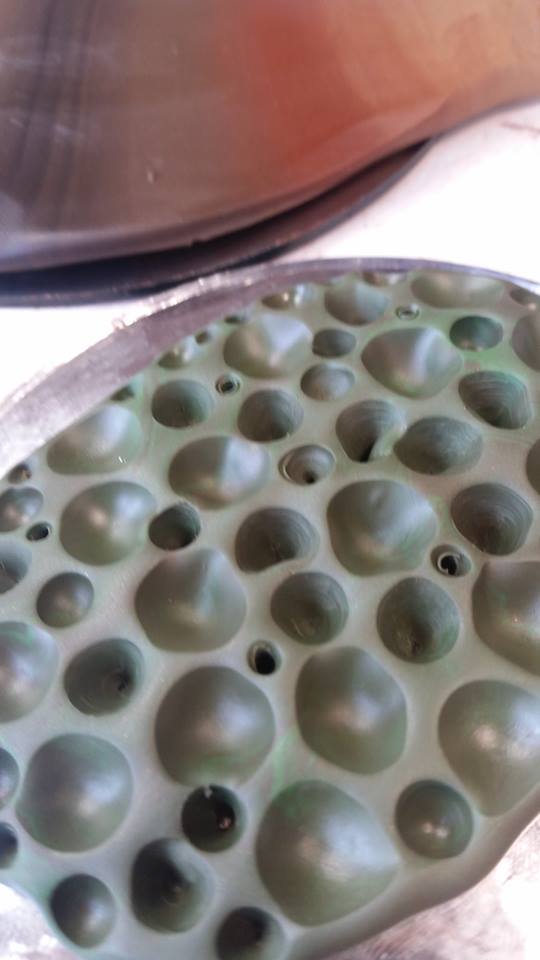
Using needle and ball tools, create textures of pits and holes in clustered formations
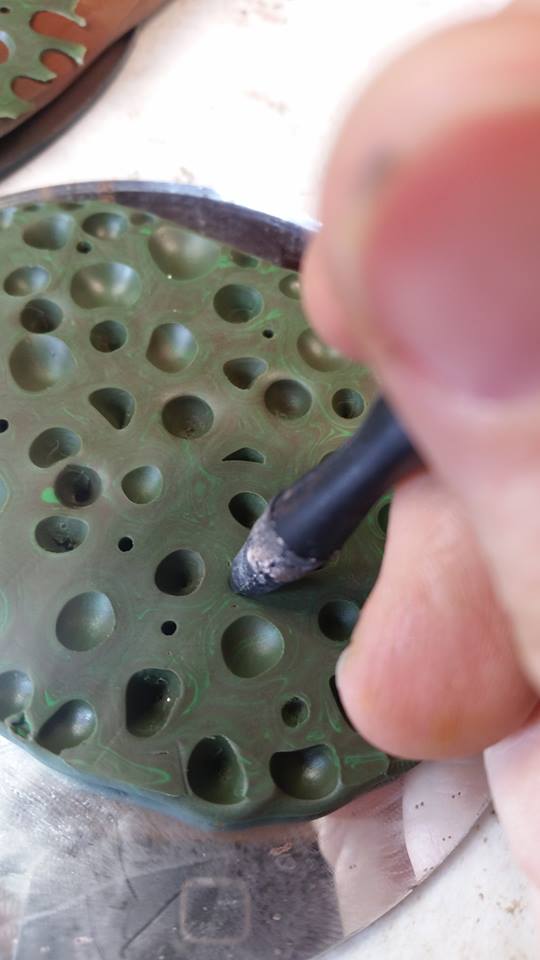
Apply additional brown chalk pastel (as desired) to deepen the color
Apply mica powders to the ridges to create highlights and smooth rough areas
Move to your oven-safe mold and bake according to the manufacturer’s instructions
When making your clusters of pits/holes, try to avoid going all the way through your clay most of the time. As I make the holes, I always bear in mind natural, organic lines, asymmetry, and growth patterns. I don’t just make 57 holes the same size and in a straight line. I cluster them, group them, and grow them out. It may help you to start with a large cluster and work your way out, making the marks smaller and smaller as you go.


Portion III — Finishing Touches
When your mask is baked and cooled, you may want to wear it. If that’s the case, then you should add a backing and something to tie it on with. I find the process tedious, but it’s not complicated.
Using your template, trace the general shape of your mask onto felt
With strong, sharp scissors (or a craft blade on an appropriate surface) cut the felt to the shape of the mask
Lay the felt on the back of the mask and check for any sections that might stick out
Trim as necessary, cut away the portions that would cover the holes on the sides, and do a final check
Using a generous amount of craft glue (such as Elmer’s school glue), secure the felt to the back of the mask
As the glue will make the mask more pliable, be sure to support the shape of the mask while the glue dries
Leave to stand several hours/overnight
Thread your ribbon (or other material) through the holes on the sides and secure with a knot
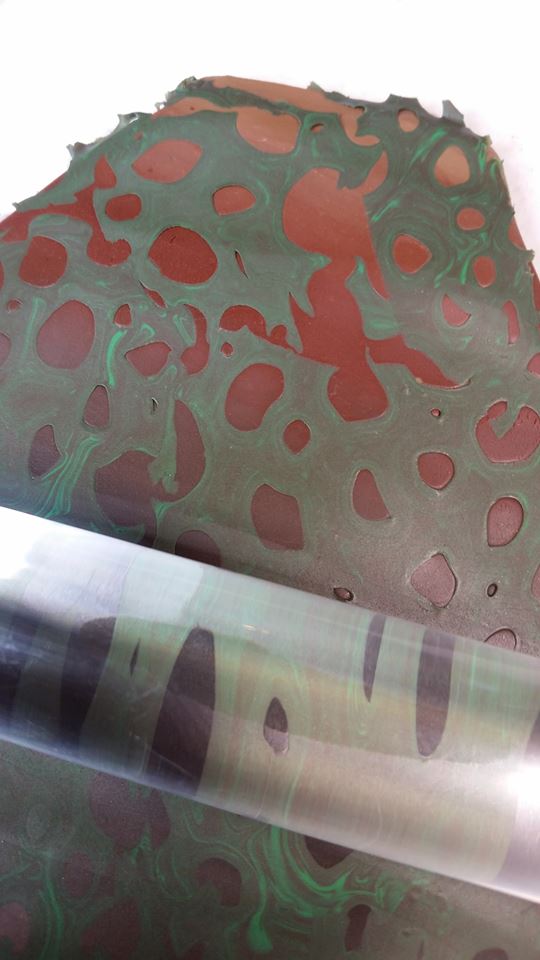
Video
As I mentioned in the introduction, I’m dipping a toe into doing videos. For now, I’ll just link to a short, silent video of my method of making the wider holes that reveal hidden colors. I hope to be more ambitious in coming months.
For my current project, this monster mask is just the base. Here is a work-in-progress photo of where I’m taking it. (Bear in mind that this is meant to be monstrous!)

I have more painting to do and hardware to add, but it should eventually look like a monster wearing a human-skin mask. I know… Awful. Right? I did say that it was monstrous.