
Even my best sculpted leaves are relatively stylized representations that wouldn’t be mistaken for the real deal. I think that they are lovely, and I’m happy with them, but then there are times when I attempt to recreate more complicated leaves. It rarely ends well. Now and then I’m happy with my oak leaves — and I can do a fine aspen, willow, elm, rose, lilac, or beech leaf — but I’ve never done a maple-from-scratch that I find satisfactory. That’s why, when an attendee at one of the markets this weekend mentioned leaf impressions, I was eager to try a new technique.
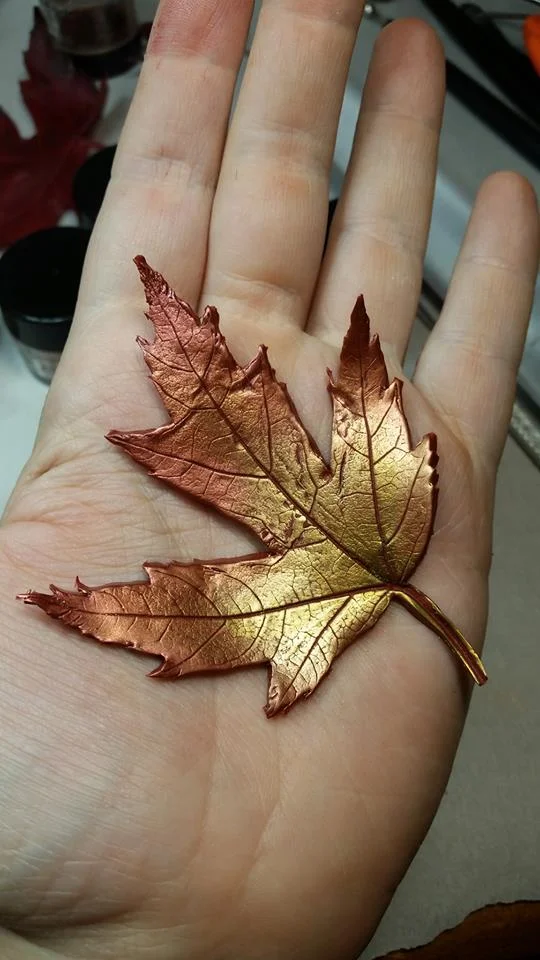
It ends up looking a bit like a gold leafed leaf
I should warn you that the finished leaf is more fragile than most of my jewelry projects. If you make these to be worn, you might want to make them thicker, add a backing layer, or just handle with care. They look pretty spectacular, but they are easily broken. I am inclined to make them more as ornaments than as jewelry, just to avoid the disappointment of my clumsy self losing my balance and smashing it against a hard surface, as I ahem may or may not have done two days after making it.
This tutorial is fairly simple. The short version is as follows:
Condition and roll out clay
Lay leaf onto clay and press lightly to stick
Roll leaf until it is flush with the surface of the clay
Remove leaf
Cut out leaf shape
Add mica powders
Connect to jump ring or bail (or poke a hole)
Bake according to manufacturer’s specifications
After having tried this once, I have some thoughts on how to make it go more smoothly. I’m also thinking about trying to make a thin mold for when the leaves are gone. The only adjustment that I would definitely advise, though, is to avoid pressing the stem into your clay. It’s likely to be thicker and firmer than the leaf, and you will want that part to have less indent, as it needs to hold the jump ring. In fact, you might want to go ahead and cut off the stem before you start. You can always make a slight indentation with a needle tool later if you want it. With that said, let’s begin!
Prepare
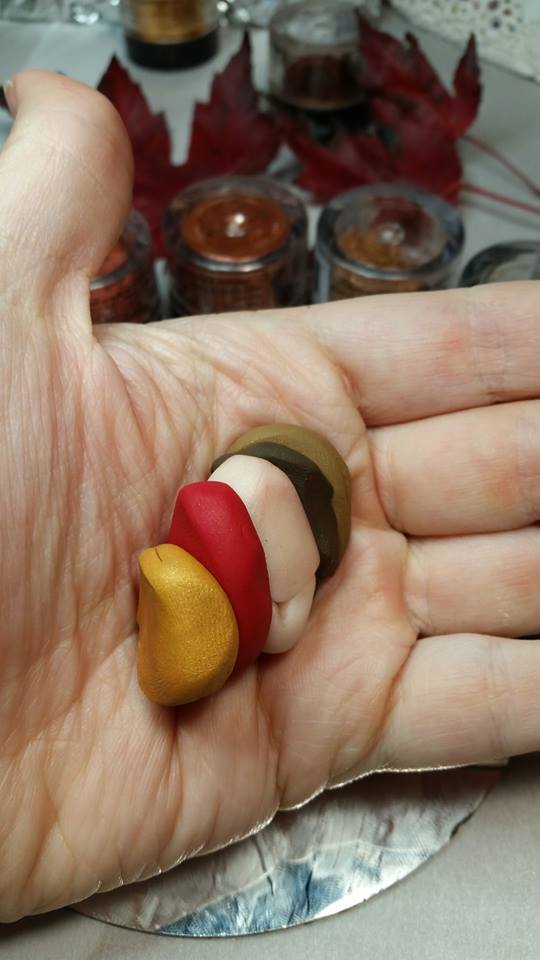
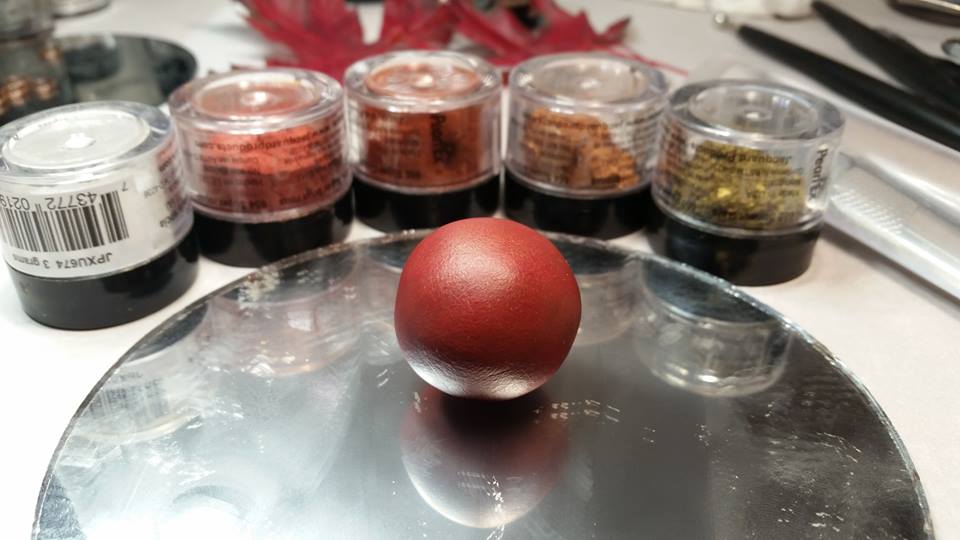
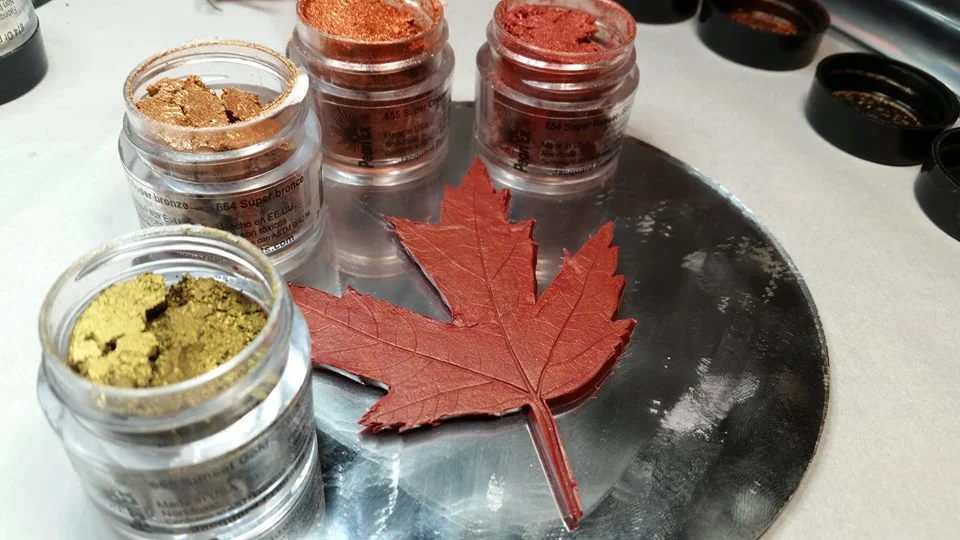
Choose your polymer clay color(s) and condition your clay. You may want to have a slight marbling or a skinner blend, or you may want your leaf slightly translucent. There are several color options. Remember to choose colors that are darker than the mica powders that you will be using. I chose to use a succession of colors from a greenish gold to a red bronze, topped with a light dusting of interference gold. Be sure to have safe work and baking surfaces prepared. In addition, you will need as many clean, fresh, pliable leaves as you want finished clay leaves. You may be able to re-use leaves, but you cannot count on them releasing cleanly in one piece. Any dry or brittle parts of the leaves may break off and embed themselves into the clay.

For this project you’ll need polymer clay with corresponding mica powders, fresh (flexible) leaves, surfaces safe for cutting and baking, a craft knife, a roller, a needle tool, a tissue blade, and findings.

It also helps to have color inspiration.
Portion I — Impression
Roll out your clay to larger than the size of the leaf
Lay your leaf vein-side-down on the clay and decide where you want to position it
Press down lightly with your fingertips — just enough to make the leaf stick to the clay, but not so much that you indent the clay
Lightly roll over the leaf and check that all of the tips lay flat
With several light passes, roll until the leaf is flush with the top of the clay (try not to press the stem into the clay)
Starting from the bottom, gently lift leaf


Portion II — Cut
With a needle tool and/or craft knife, remove any remaining bits of leaf
With a craft knife, cut out the leaf shape, staying just inside the outline
With a needle tool, make any necessary adjustments to the veining


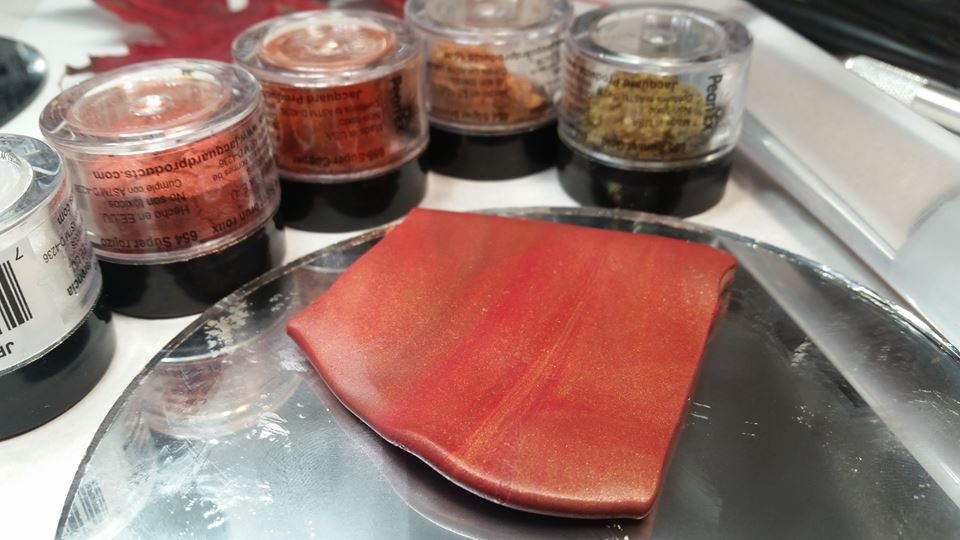
Portion III — Color
Starting from the center of the stem end, gently apply the greenest tone of your mica powders in circular, sweeping motions
Continue adding colors progressively toward the tips of the leaf, overlapping and blending as you go
Once you have covered the top surface of the leaf in mica, gently smooth out any roughness at the edges
(Optional) Add a thin layer of interference gold over all of the mica
Using a tissue blade or similar tool, lift the leaf from the work surface
Connect a jump ring by folding the stem portion through it and gently sealing on the back
Bake according to manufacturer’s instructions


As I mentioned at the beginning, these are more fragile than the leaves that I normally make, and that is even with the fact that the edges aren’t as thin as I’d normally prefer. That said, I’m definitely making more, and I’m working on ways to make molds and improvements. I want to try some with translucent clay for use as window ornaments, and I also have visions of frosty, ethereal holly leaves for my Christmas tree. So many ideas!
If you play around with this method, I’d love to see your creations. Feel free to send them in or post them on my Facebook page at SilverWheelArts!


