

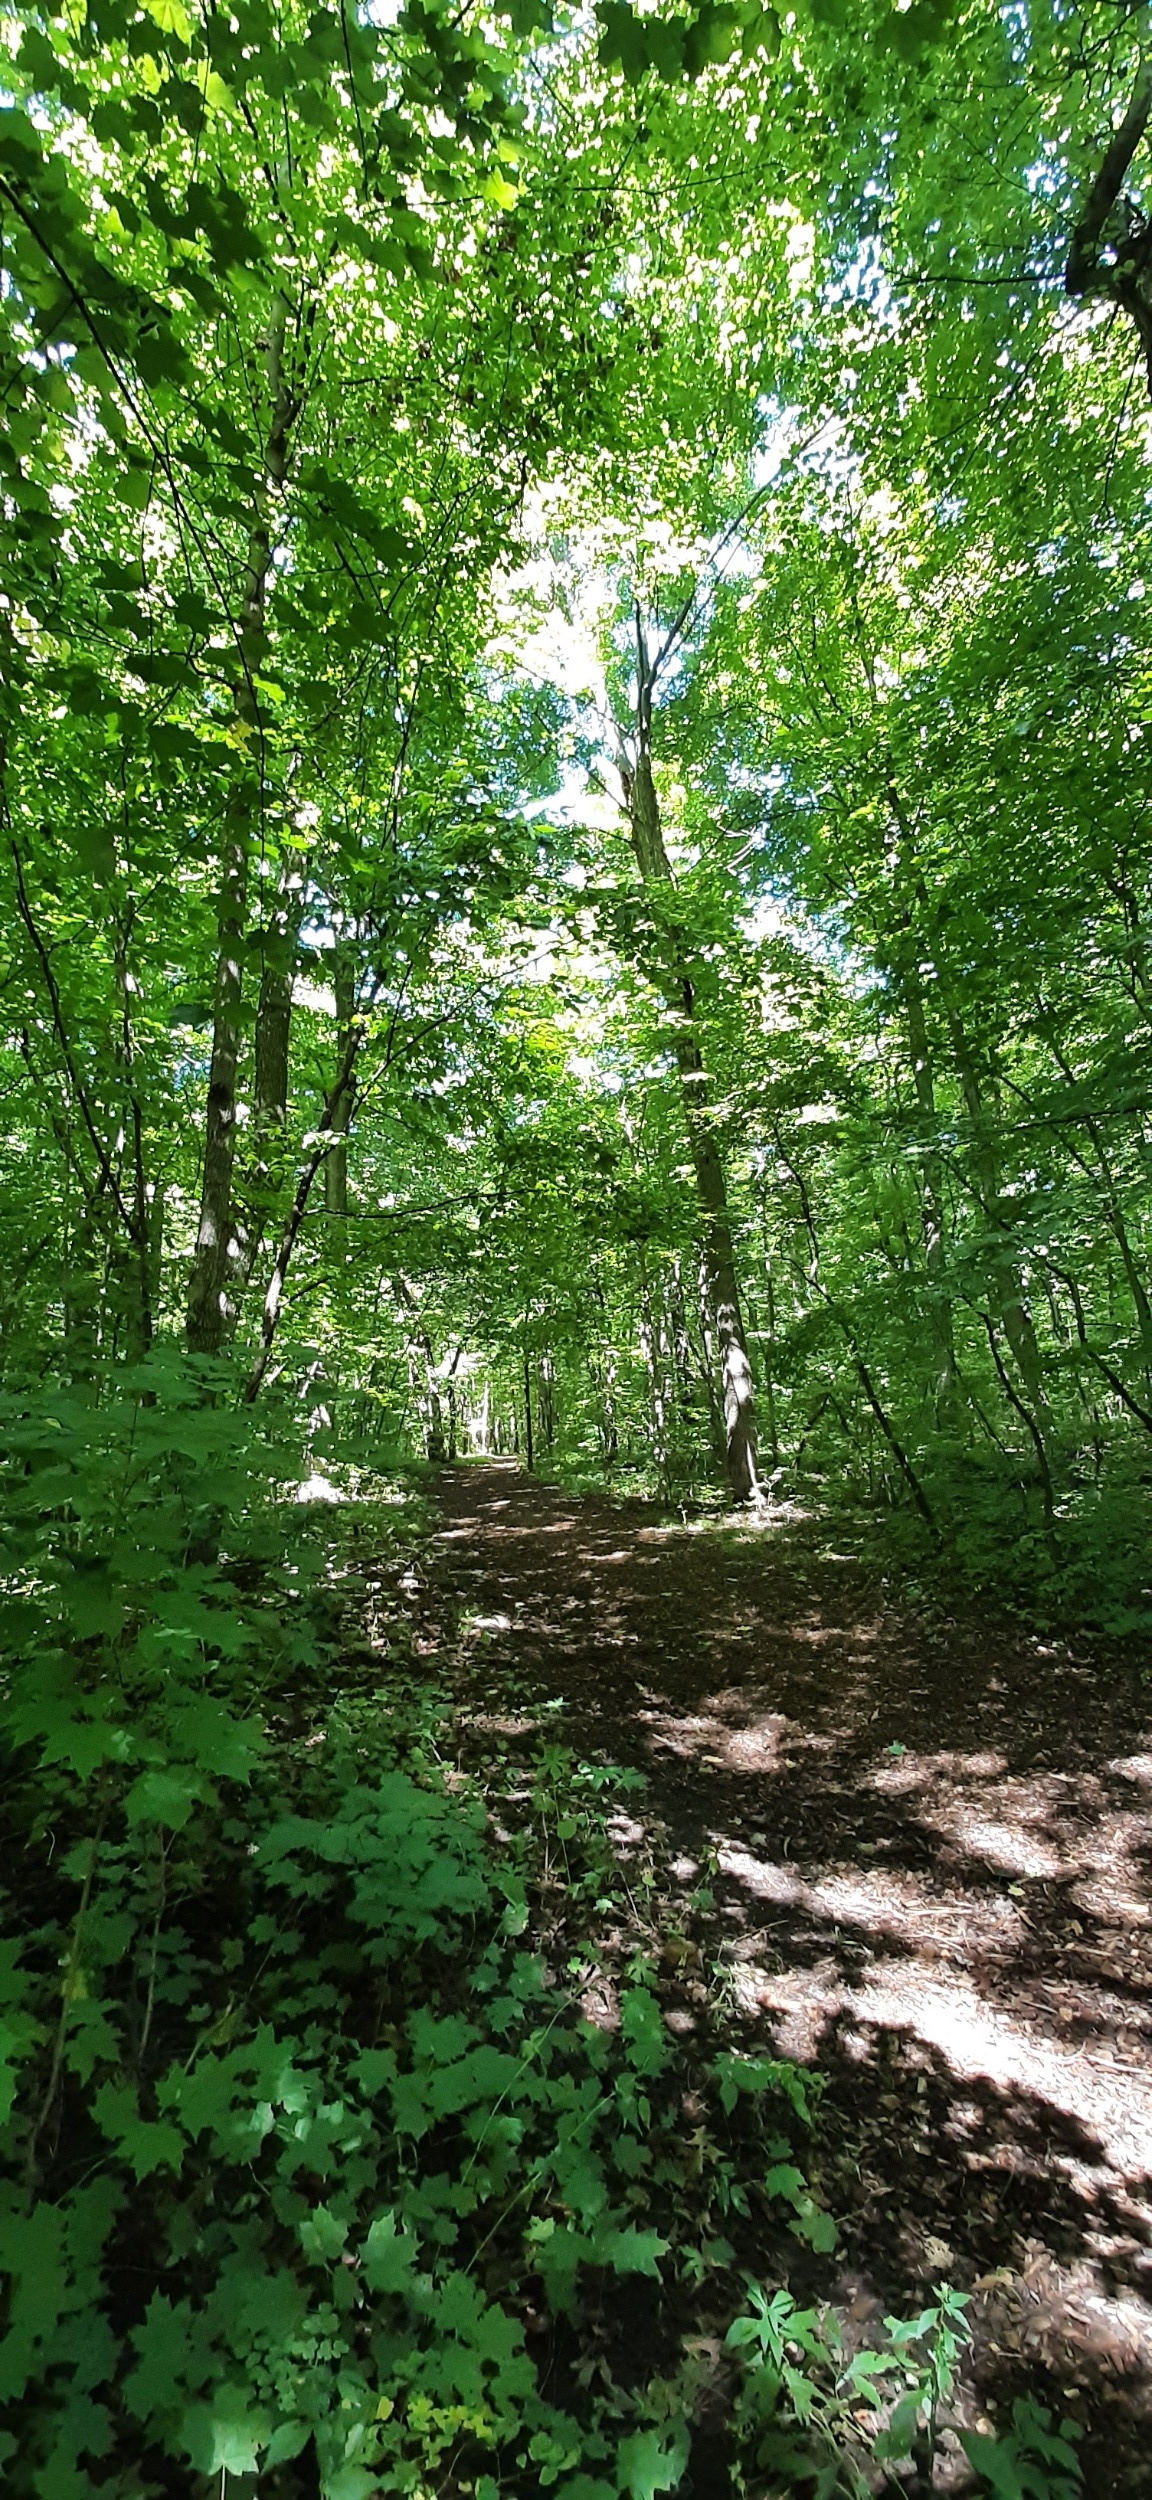
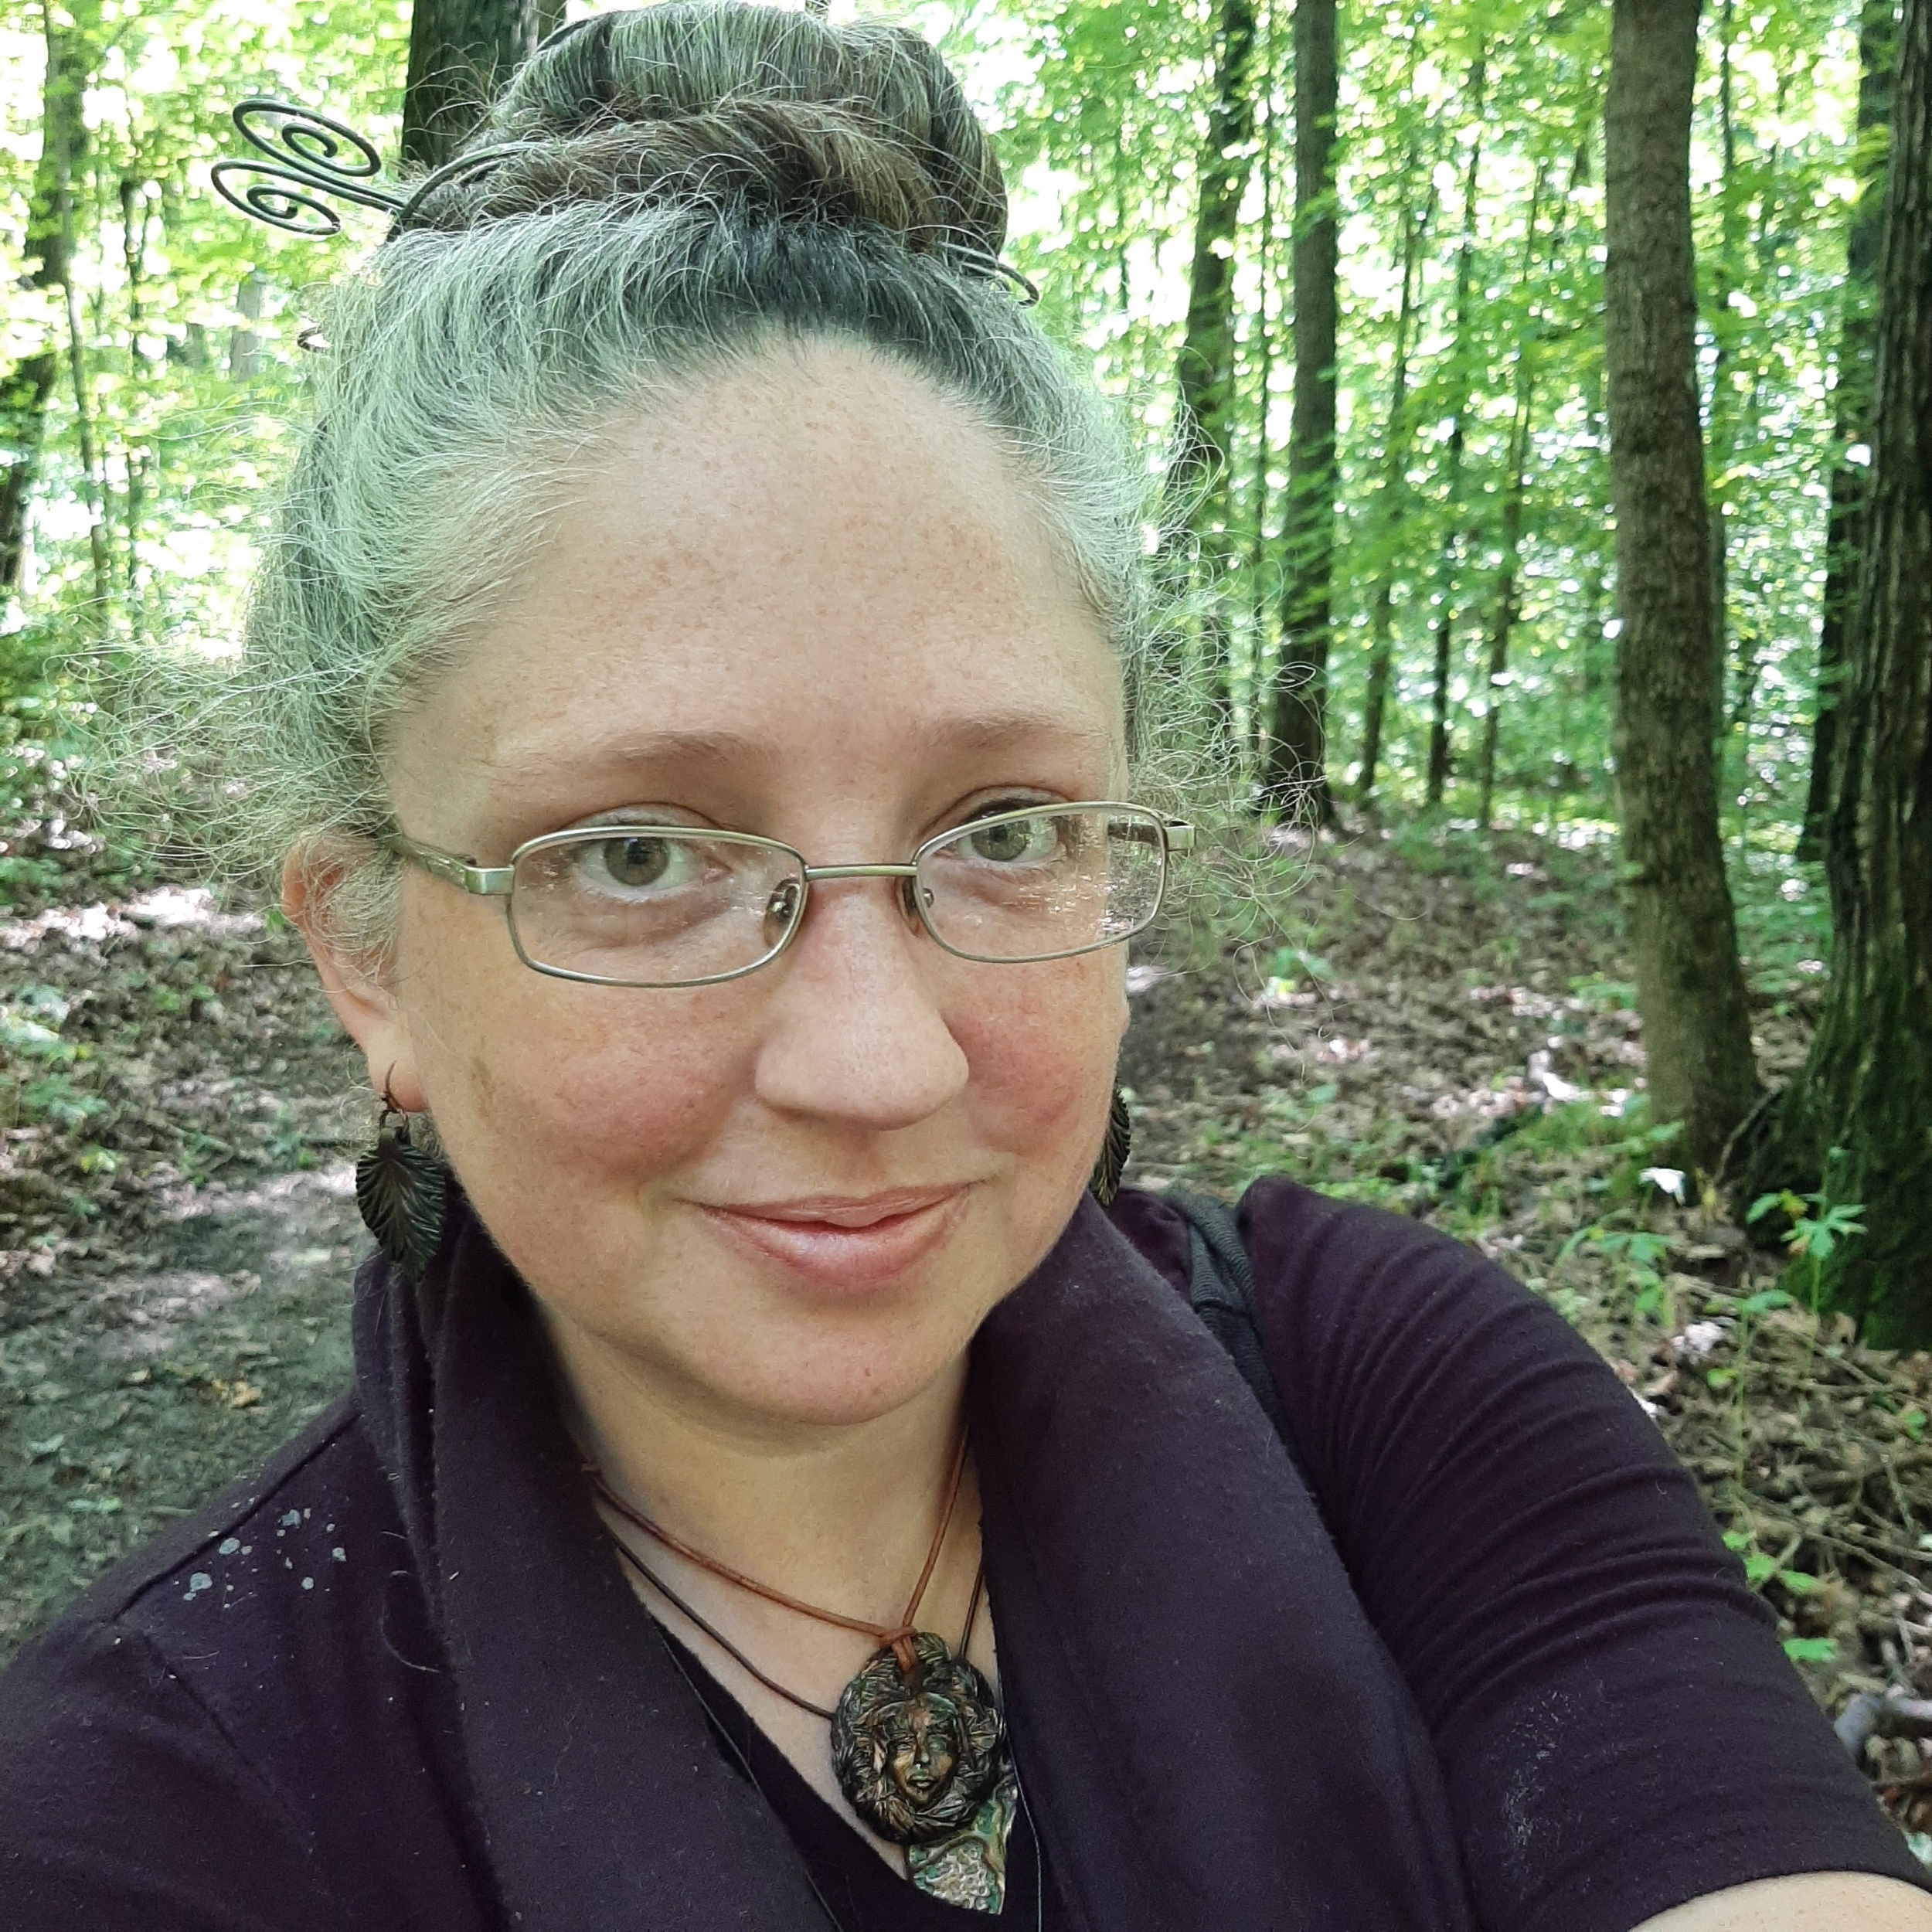
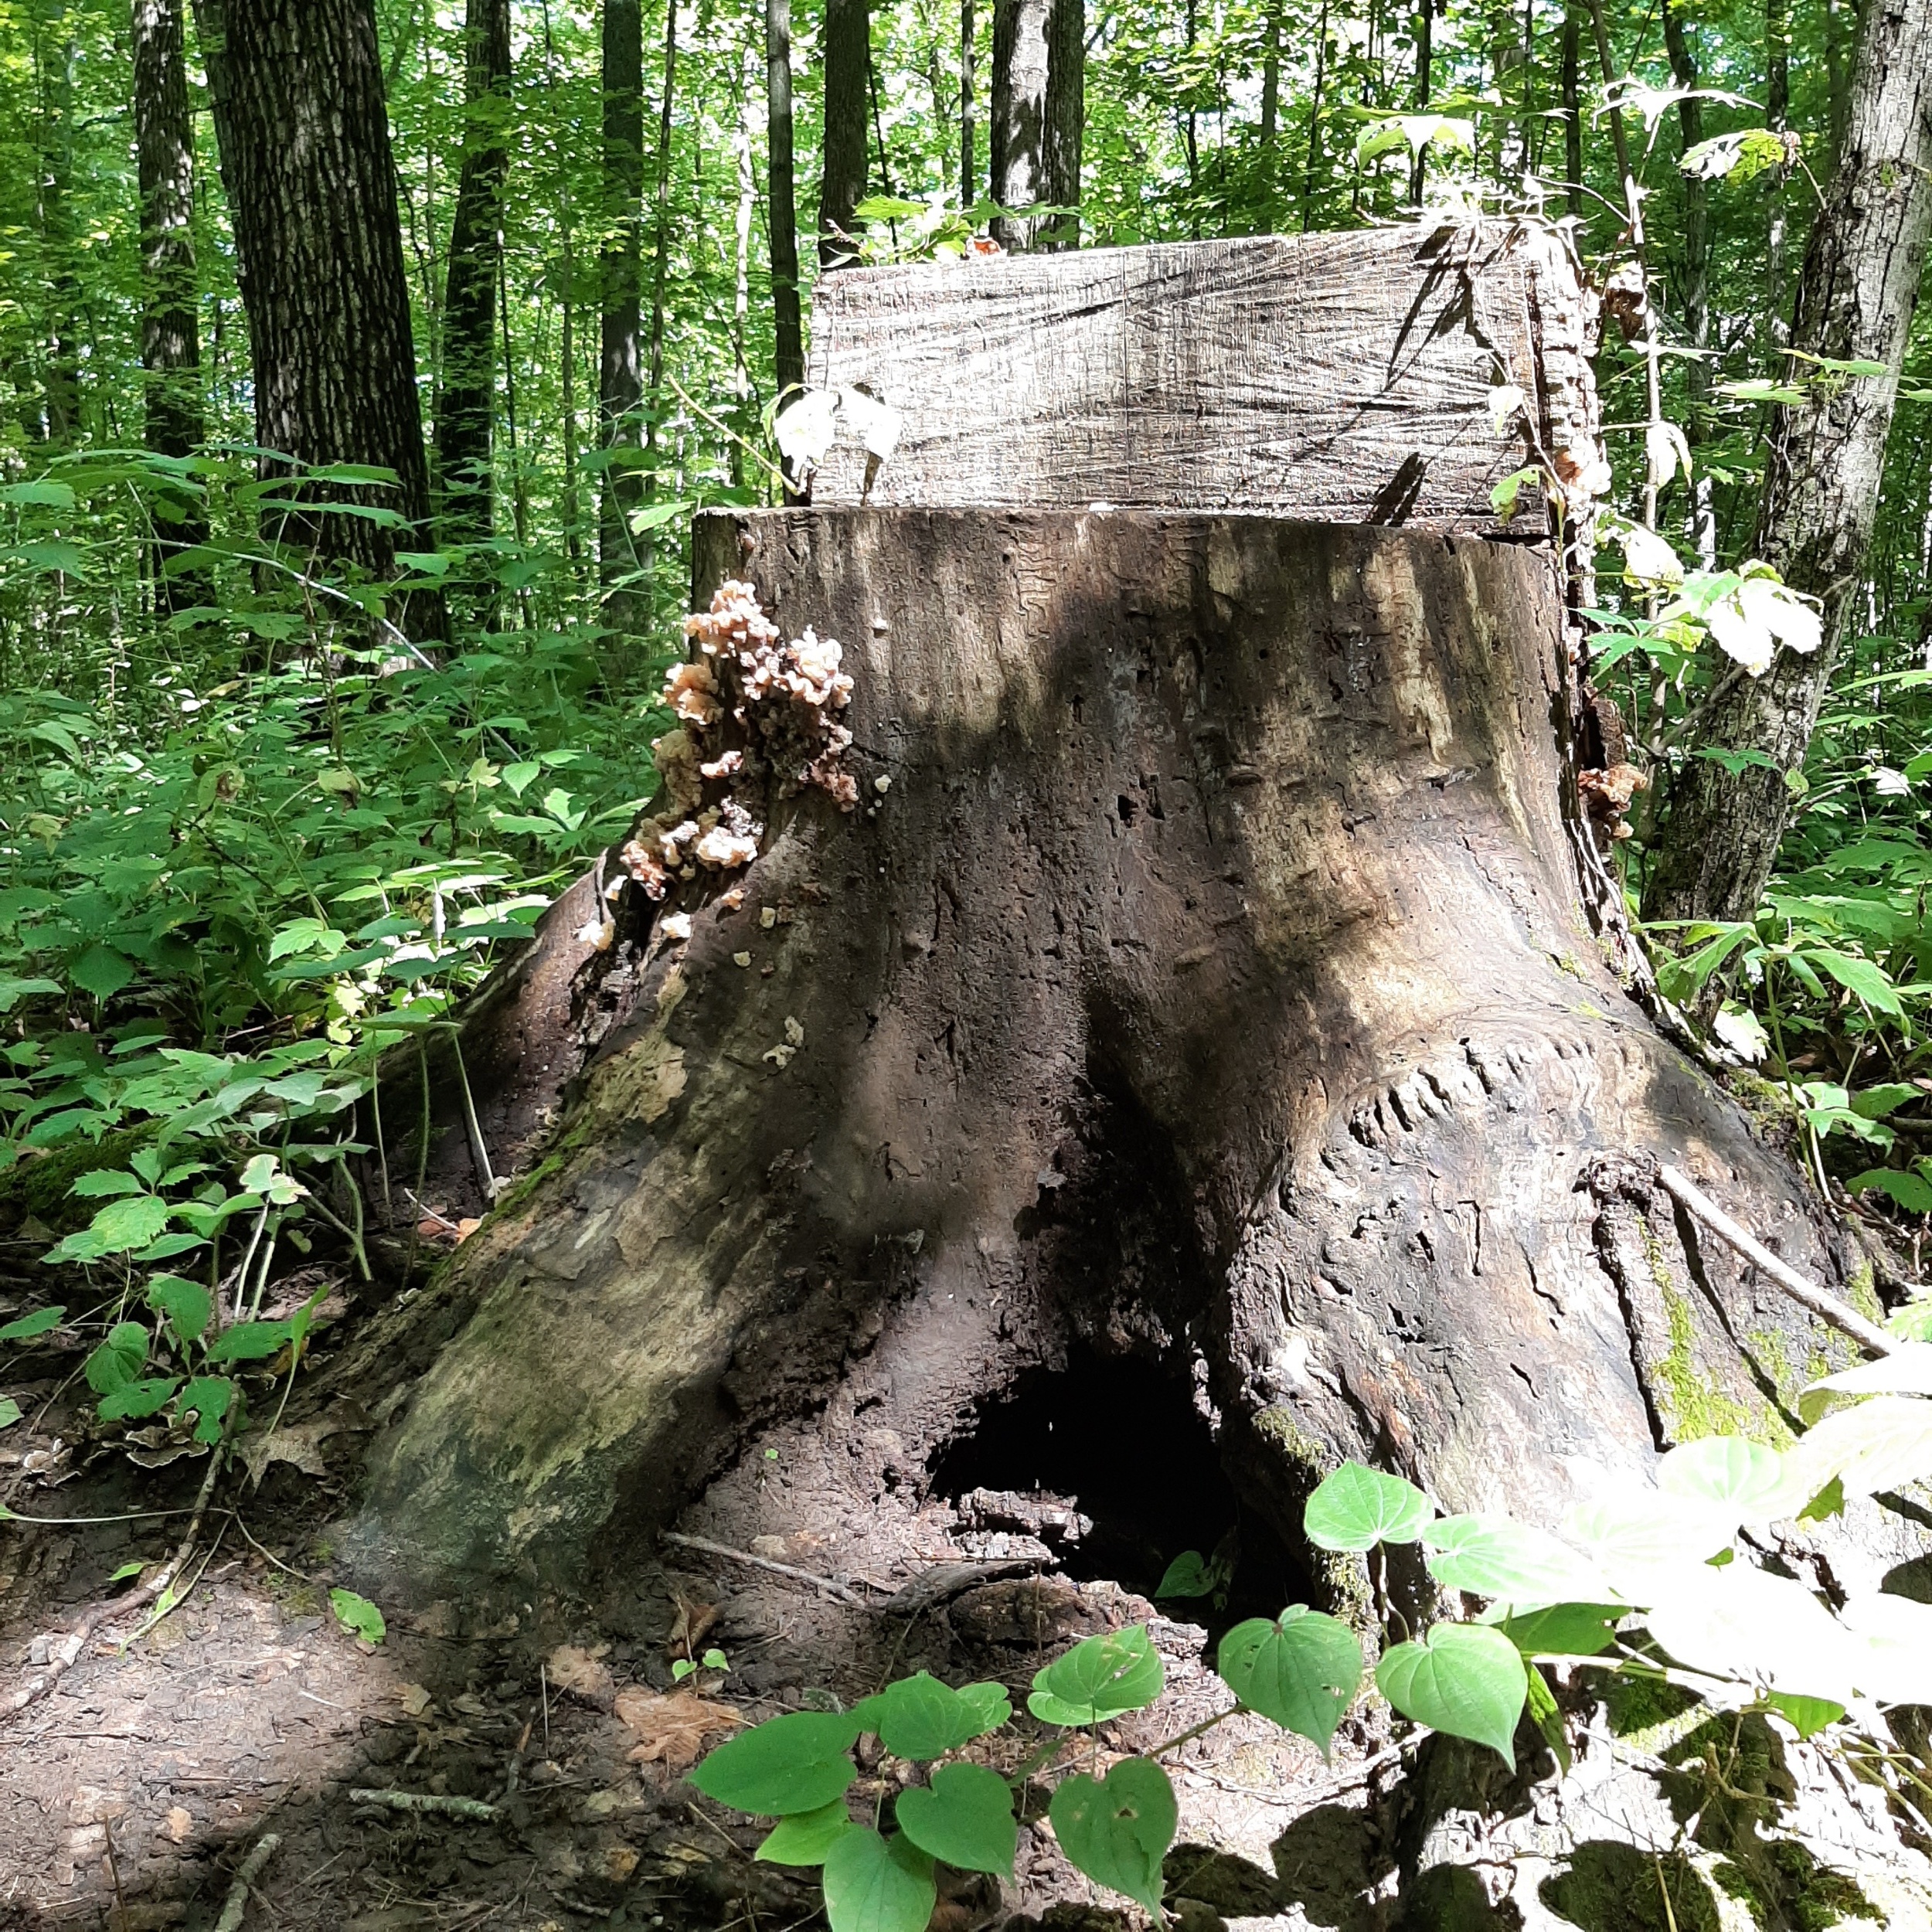
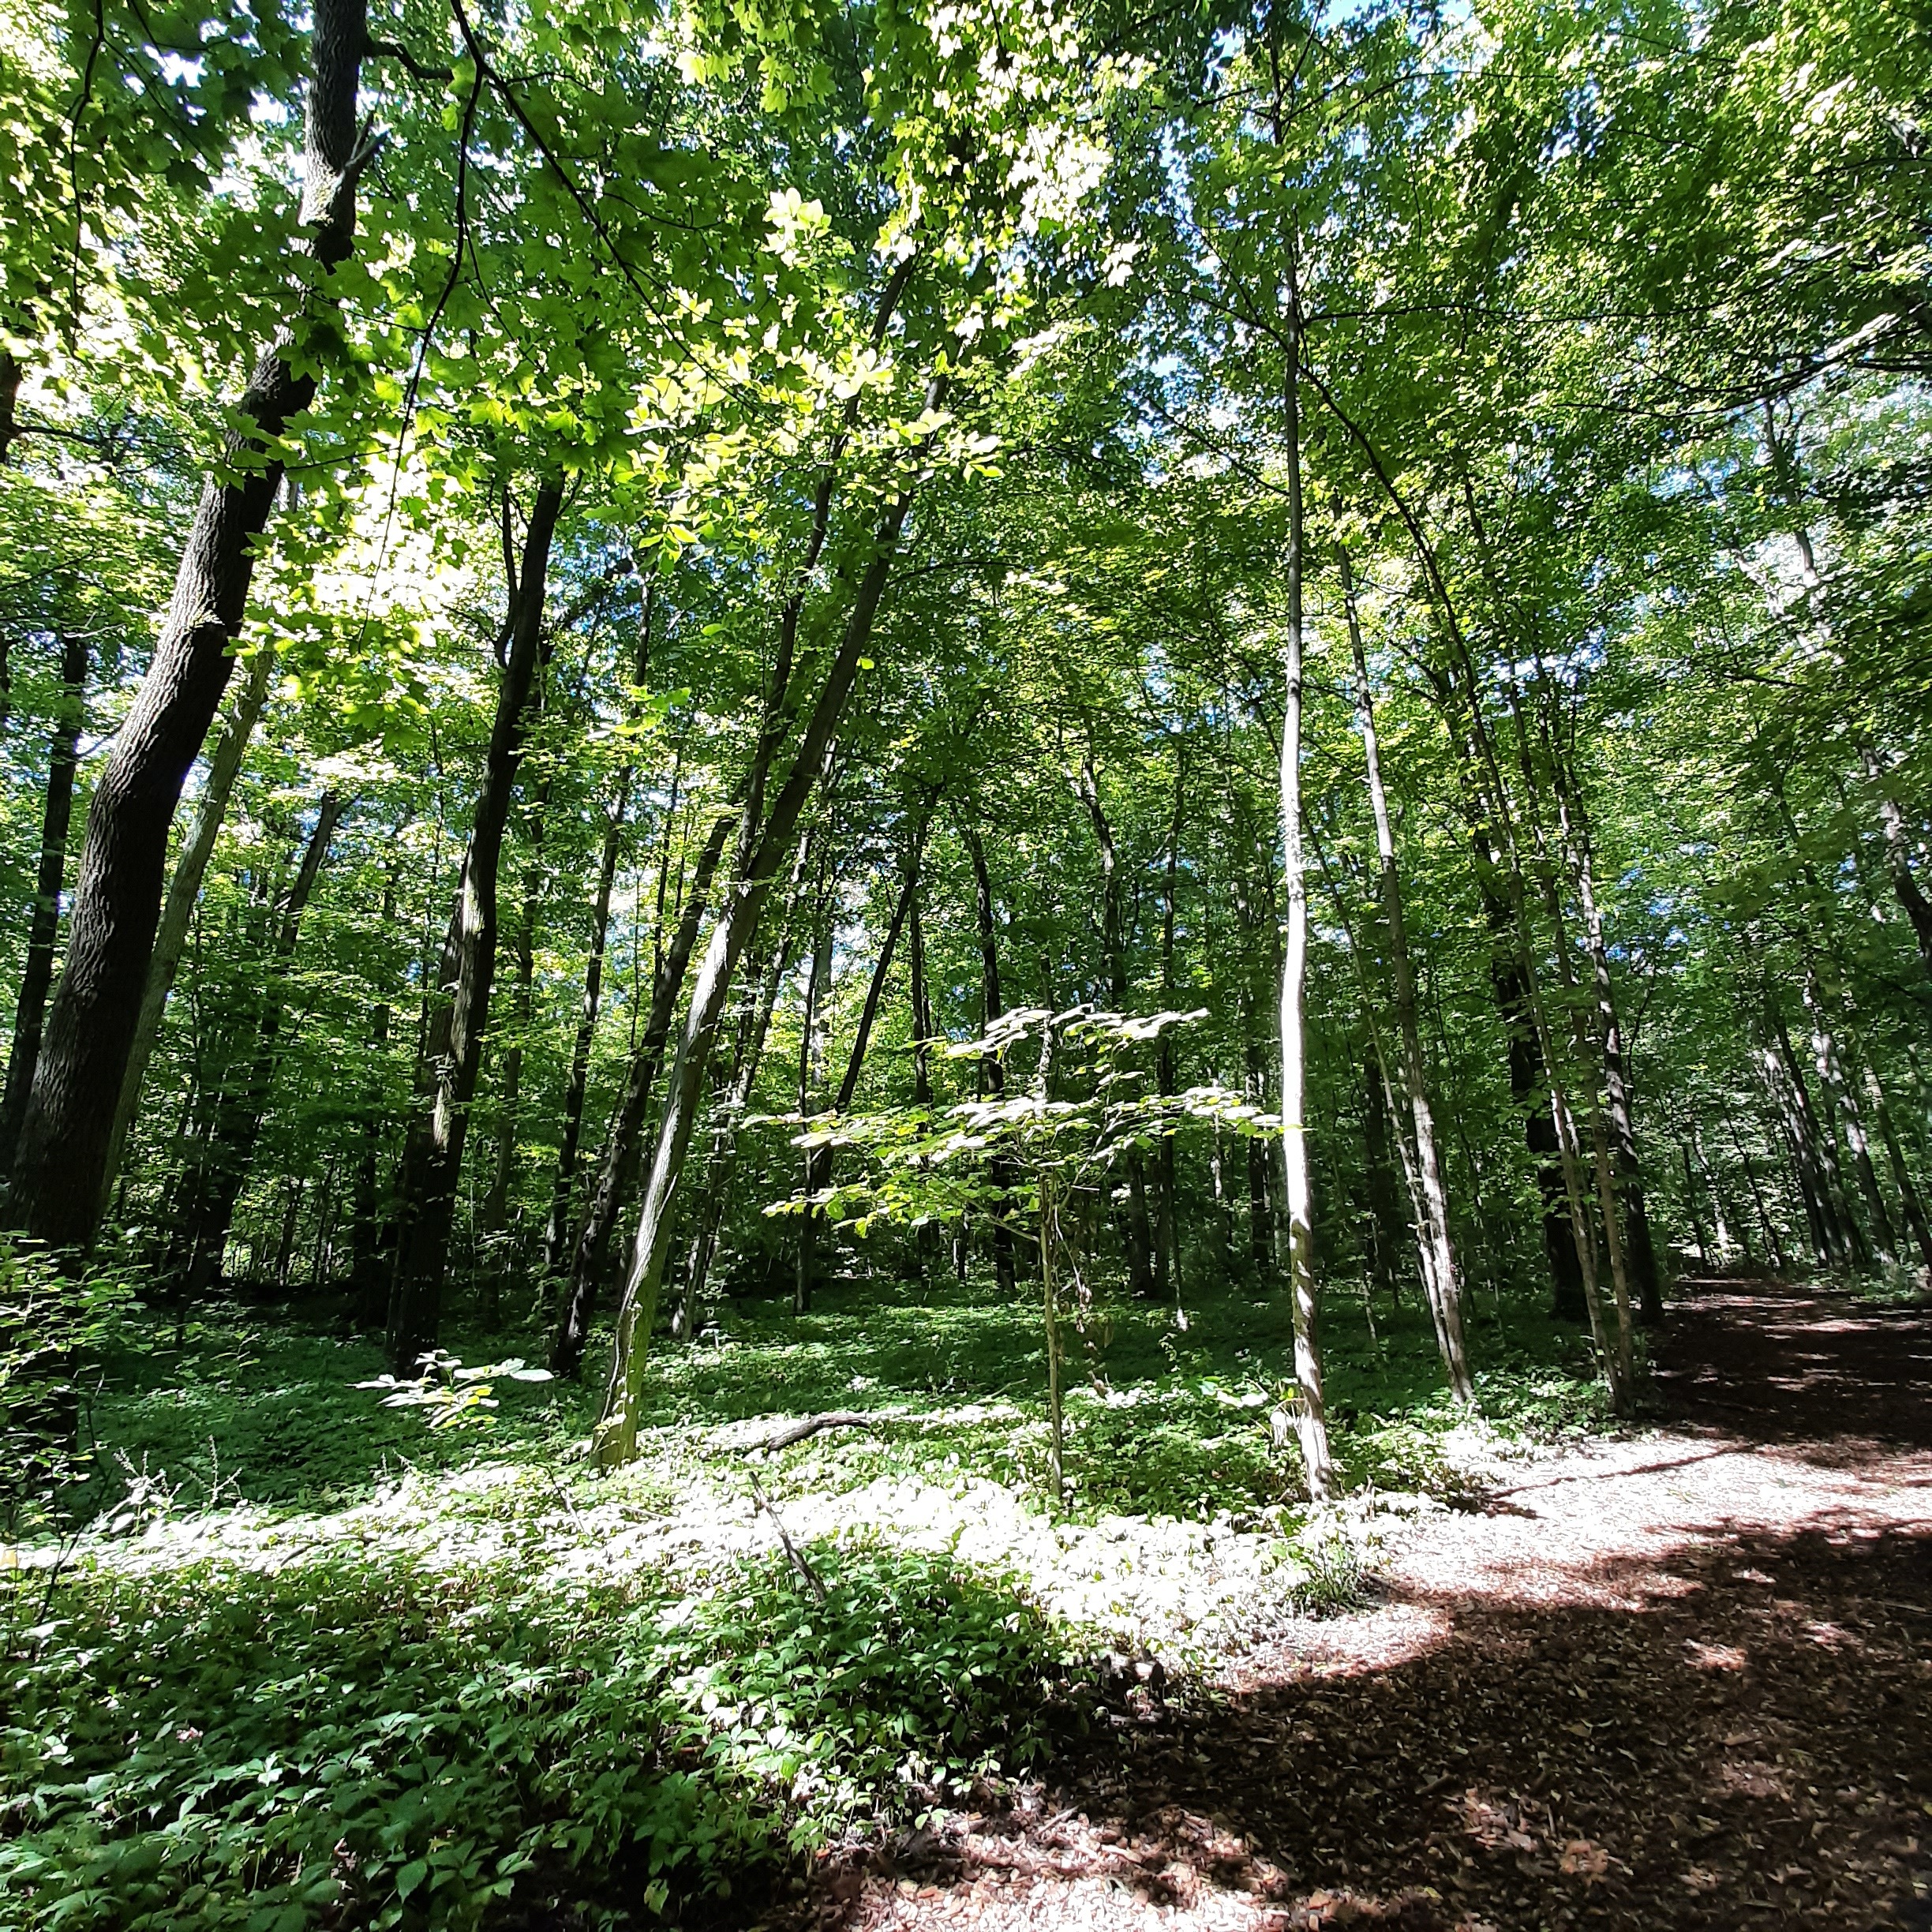
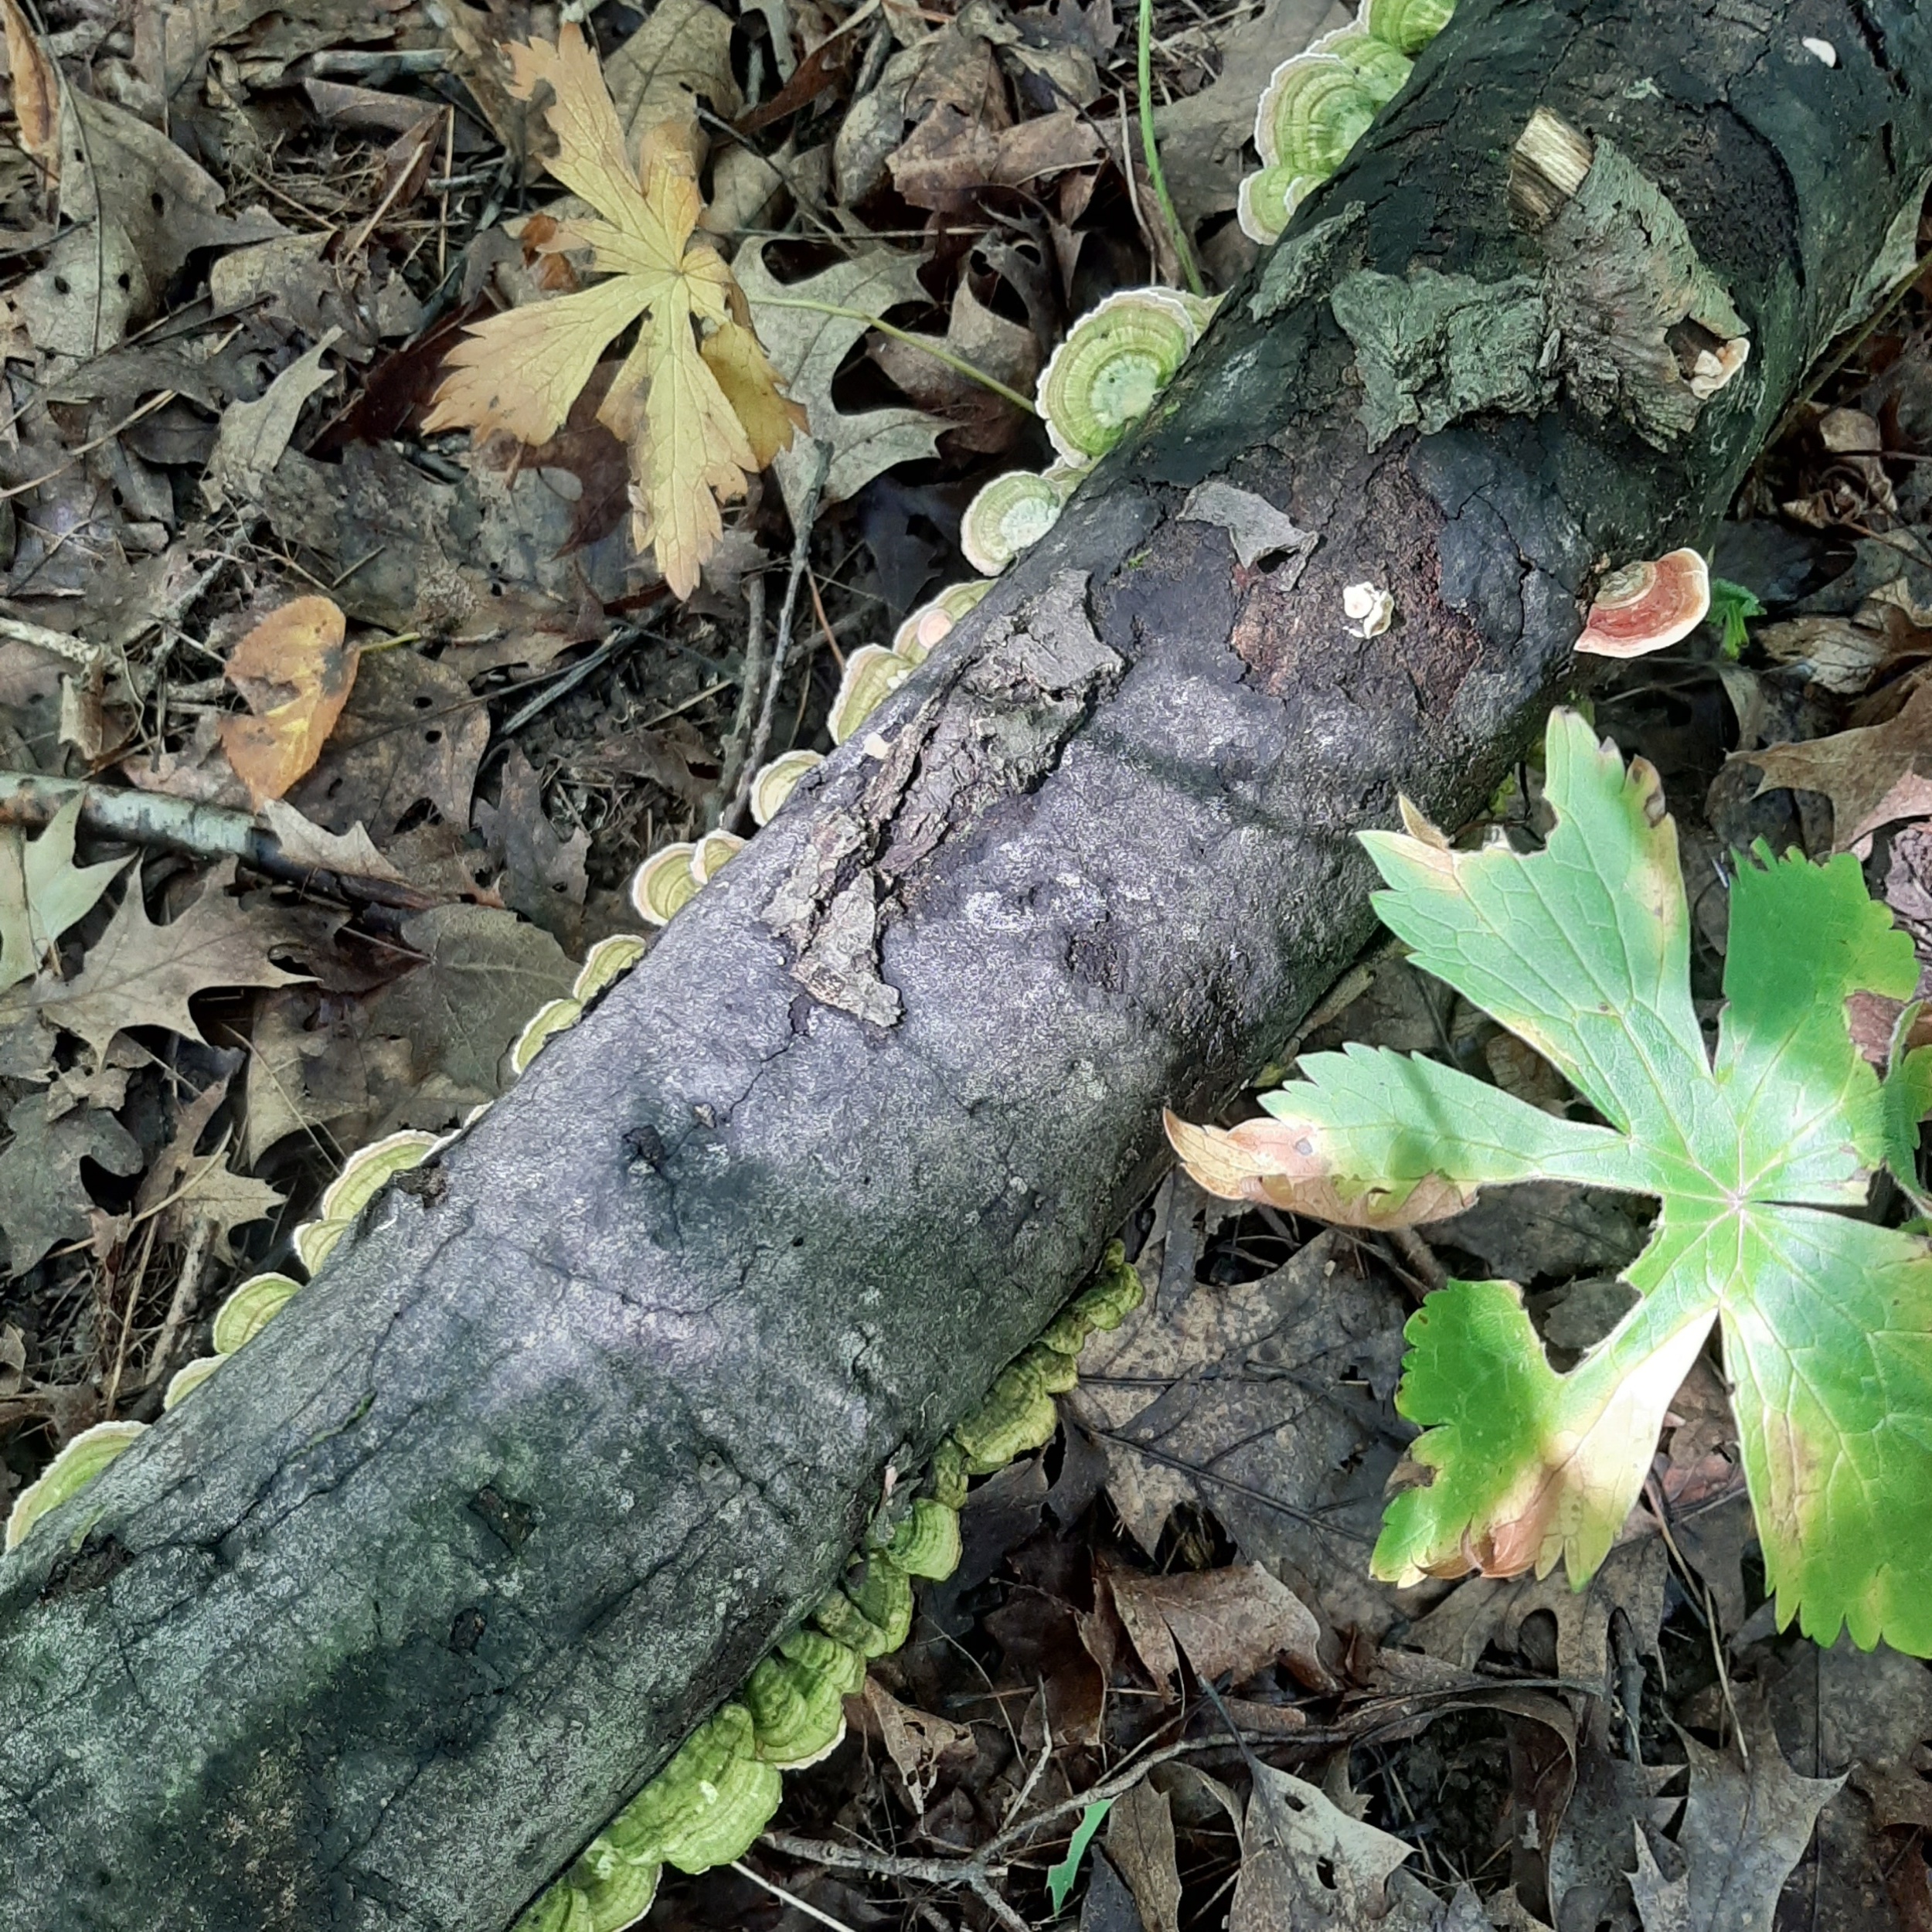
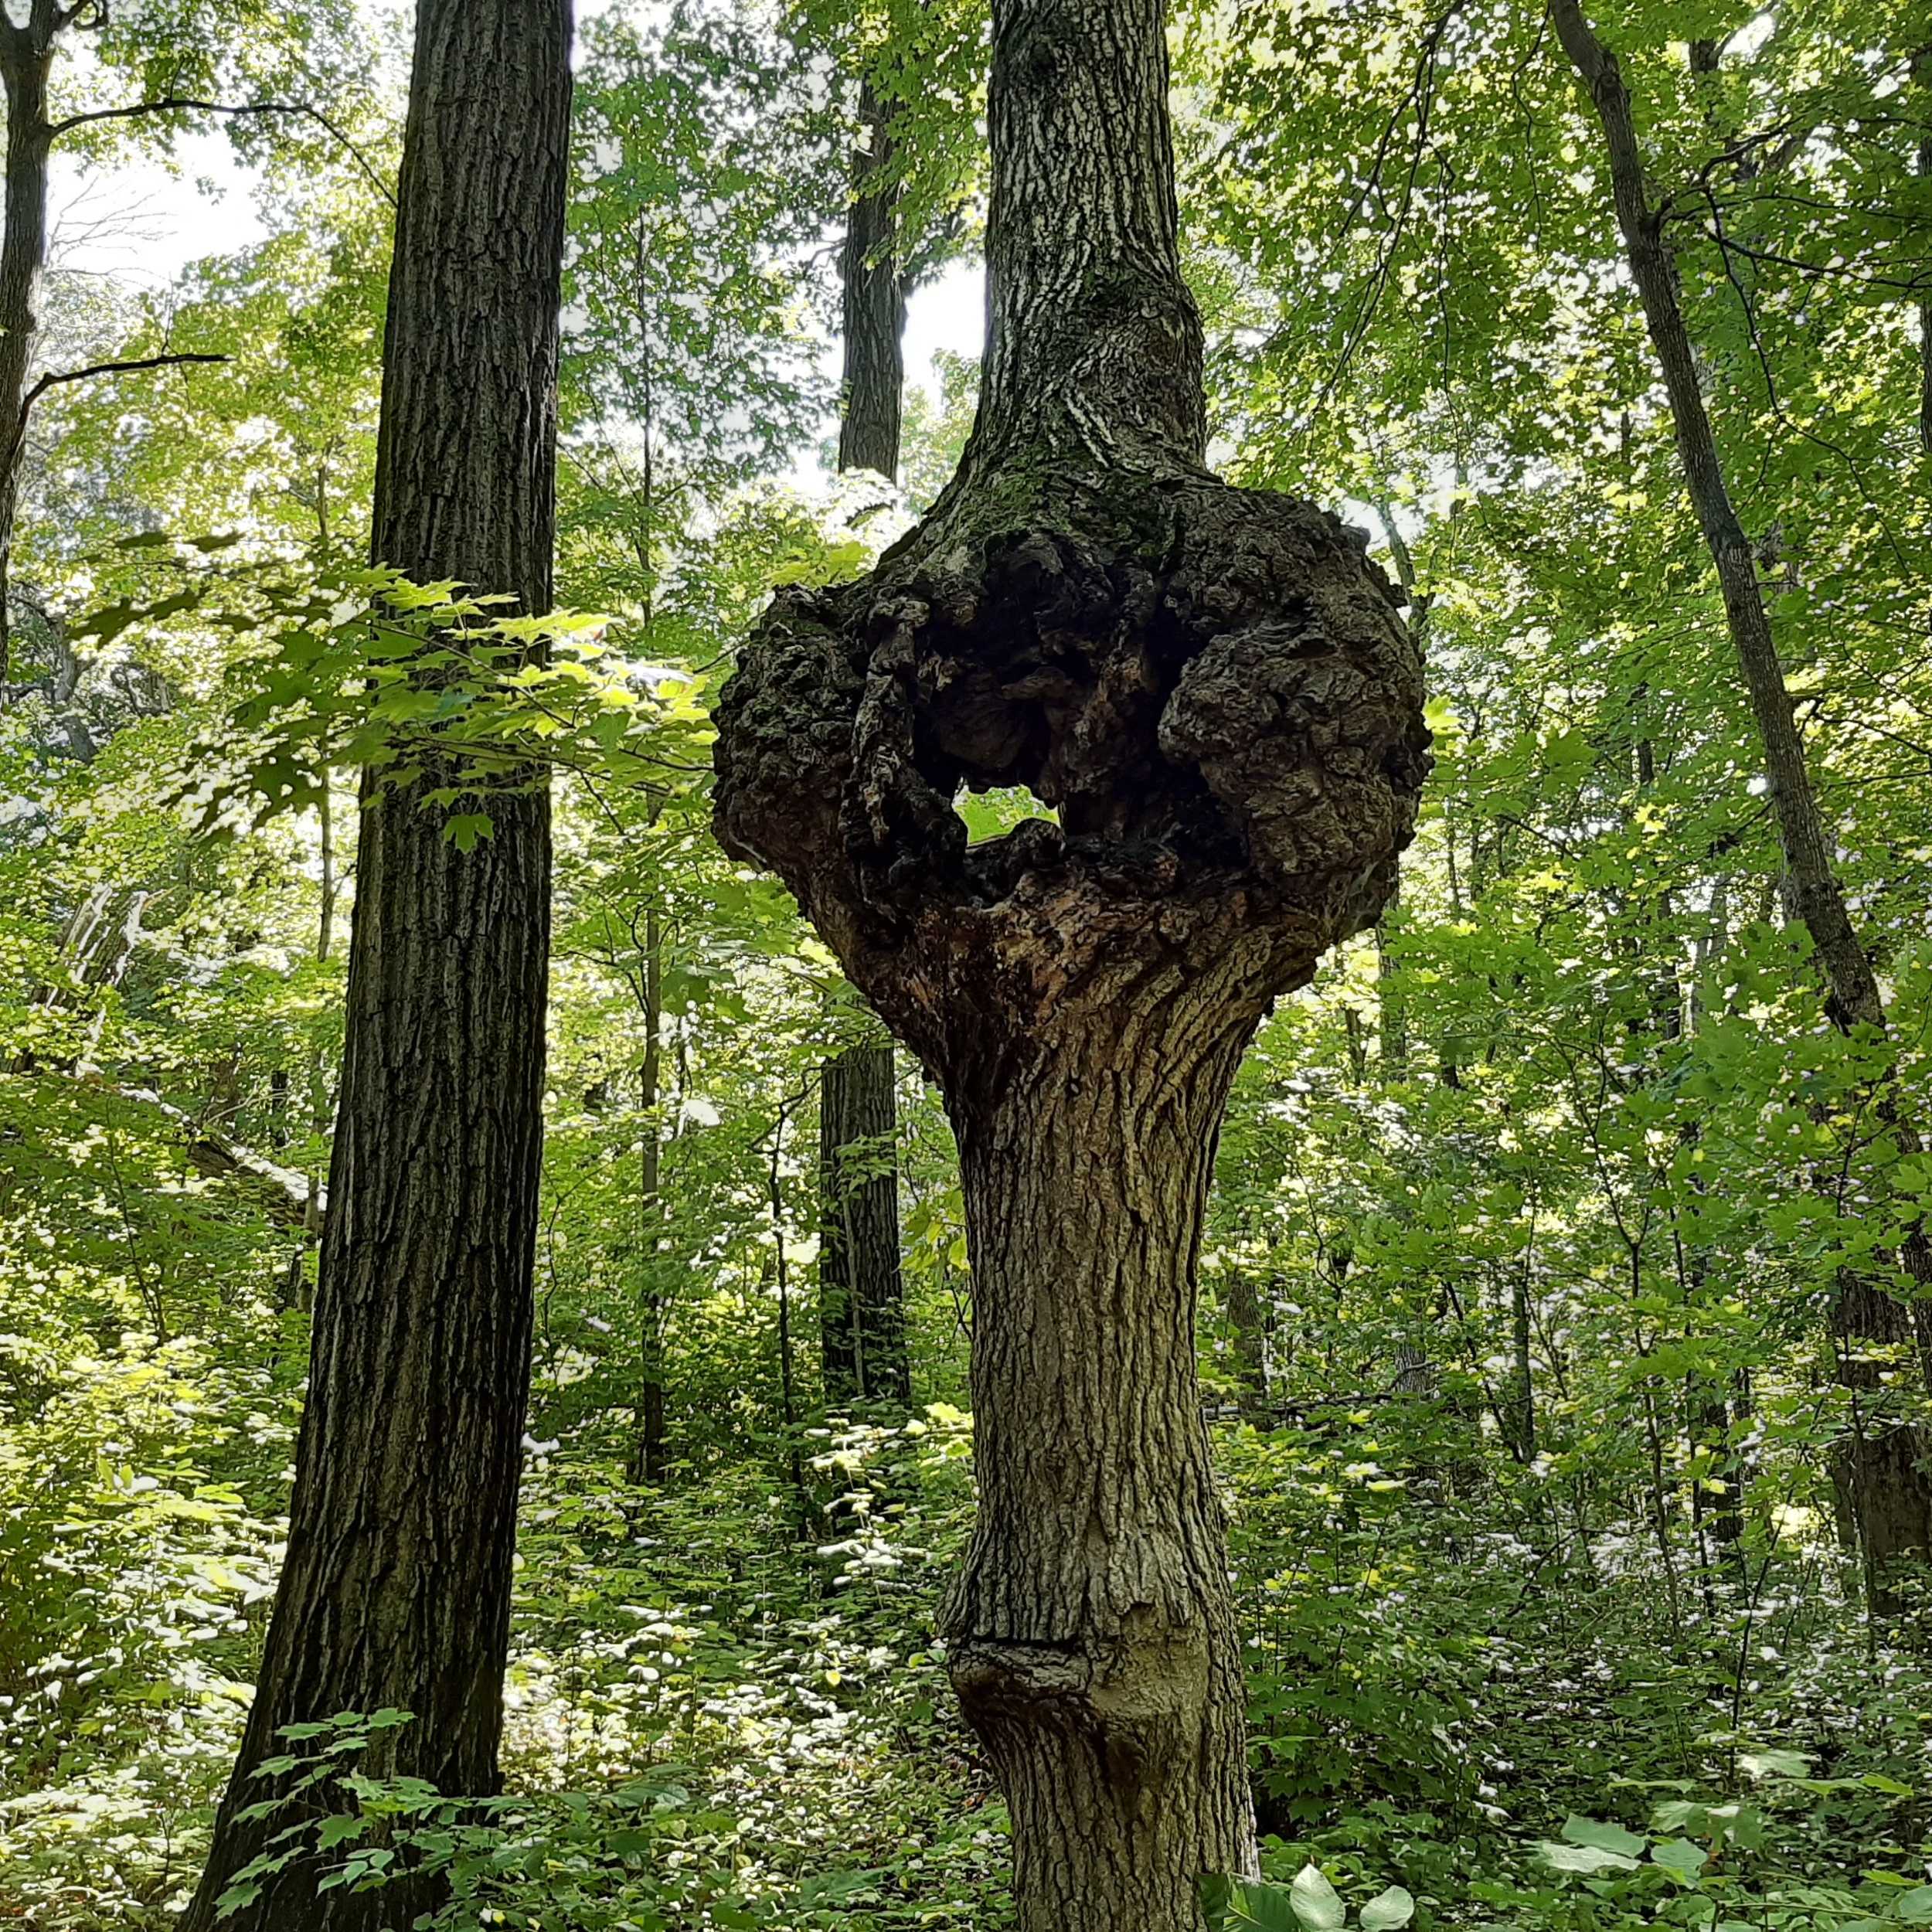
On those days when the weather is fine and I find myself with a couple of hours to myself near the woods, I like to take the opportunity to immerse myself in one of my main sources of inspiration. This has happened a couple of times lately, and so I thought to bring my tools and clay along yesterday. My first thought was to find a log or some rocks where I could settle down to work, but the paths were so delightfully springy and gentle on my joints that I wandered far more deeply into the woods than I had intended. Just as I had given up my plan of sculpting, I found a clearing with a picnic bench in some lovely dappled sunlight, and I knew that I had found my spot.
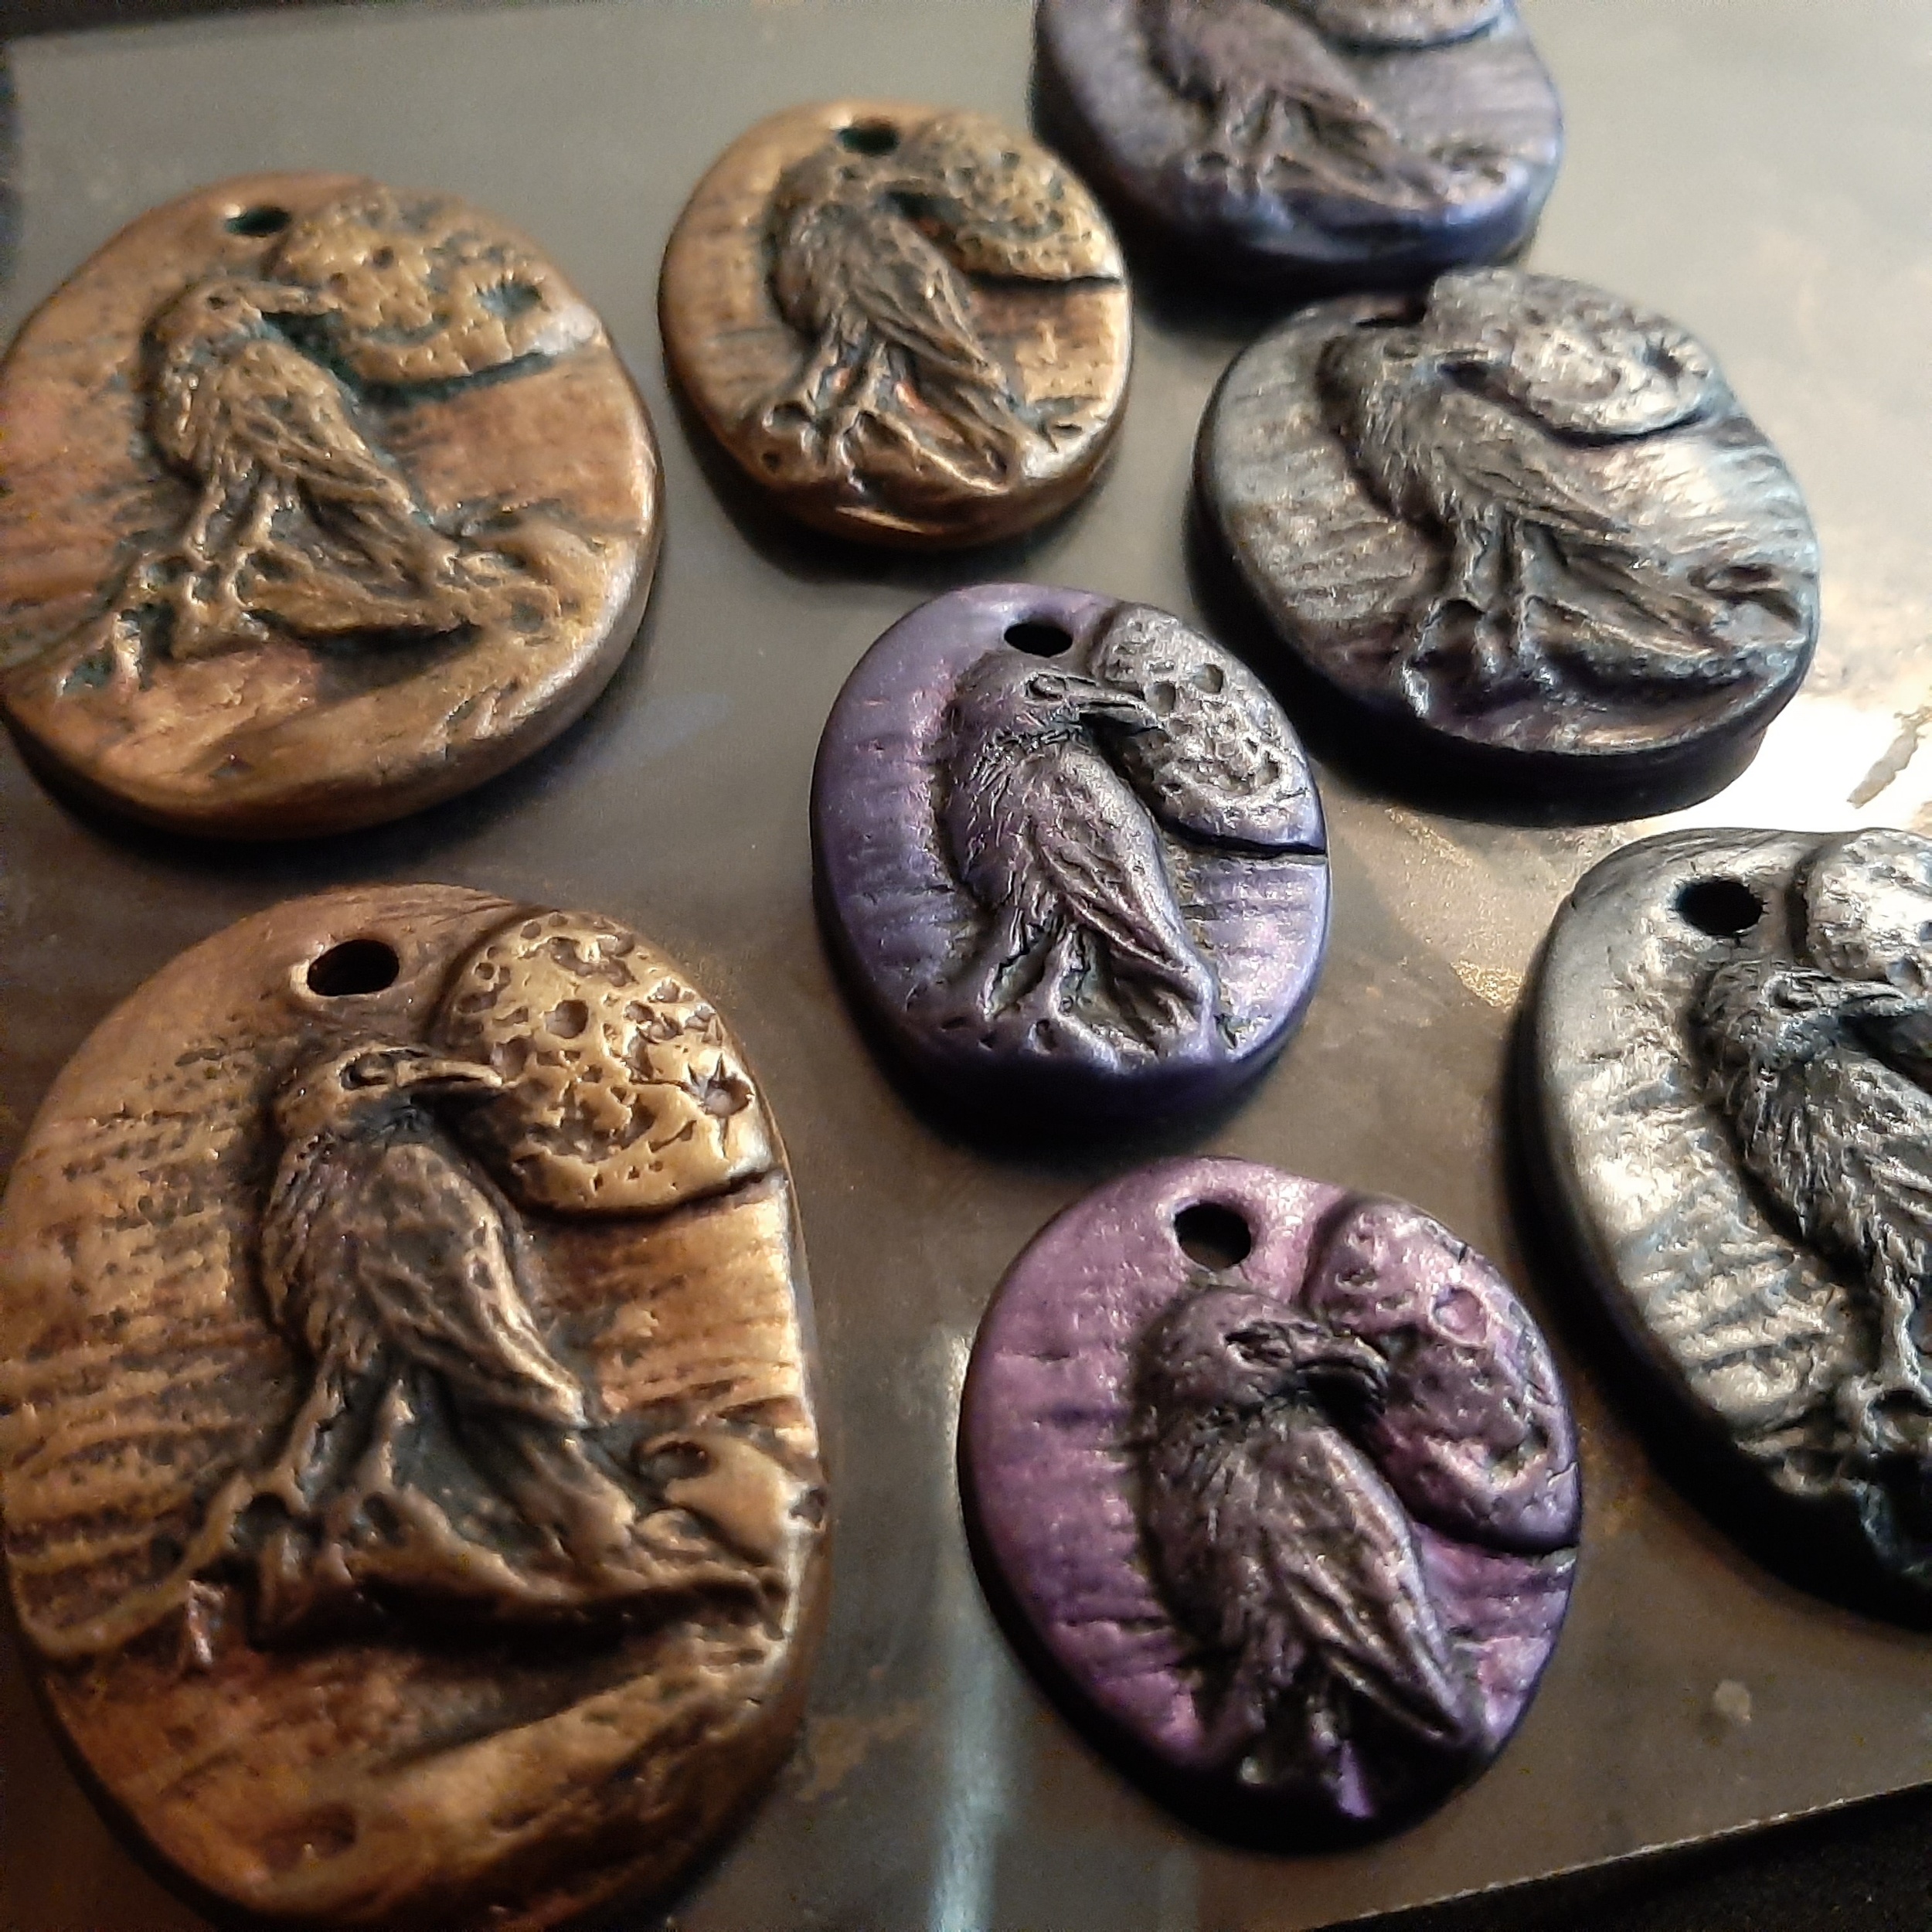
My plan for this sculpt was a raven — along the same stylistic lines as my recent rabbit, deer, cat, tree, and octopus — but I wanted a more interesting background. I've been hesitant to do animals that generally rely on a specific color for their identification, but there are a few people in my life who could use a raven, and, well… Halloween is right around the corner. Might as well try, right?
My chief concern was to differentiate the beak shape and stocky build of the raven from that of a crow. I'm not sure how successful that effort was. I'm still getting used to the loss of detail that comes with this stamping method. I tried to make the details deeper and sharper than those of the octopus, but I definitely did not overdo it.
This will not be a full tutorial, but I'll walk through my process with a few pictures so that you get the idea.

Prep
After looking at dozens of pictures of ravens and doing a few sketches, I decided on a basic outline, prepared to transfer the pencil sketch to the clay, conditioned the clay, flattened a ball into a thick oval, and embossed my outline onto the clay.

Broad strokes
With a craft knife, I started cutting around the edges of my outline, varying the depth of my cuts based on how much relief I wanted for each portion. The parts of the raven that overlap the branch and the moon are cut less deeply than the rest.

Cut and add detail
Using the blade horizontal to the work surface, I cut off layers around my main design. I then used several tools to add details and texture.

Finishing touches
Finally, I smoothed edges, added background texture, and moved it to a small tile for transport and baking.
Once I got it home, I baked it in the usual way and let it cool.

Using chalk pastel as a mold release, I pressed my cooled piece onto another oval of clay in order to form this stamp. Once baked and cooled, it was ready to use for making copies of the original.

Because I want the raven to look dark, I'm playing with color combinations that I rarely use. In particular, interference violet seems particularly useful. I may try more variations.
If I'm honest, I didn't need to go to the woods to sculpt… but it didn't hurt. Exercise, fresh air, solitude, and art — I'll take it!
I still need more practice sculpting animals, so you'll be seeing pictures of my progress. In the meantime, I think that these are good enough, and I'll include one in next week's art drop and have others available at upcoming markets. This will not be my last attempt at a raven.
And it will not be the last time that I use art as an excuse to tromp through the woods!
Go have an adventure and make some art!